
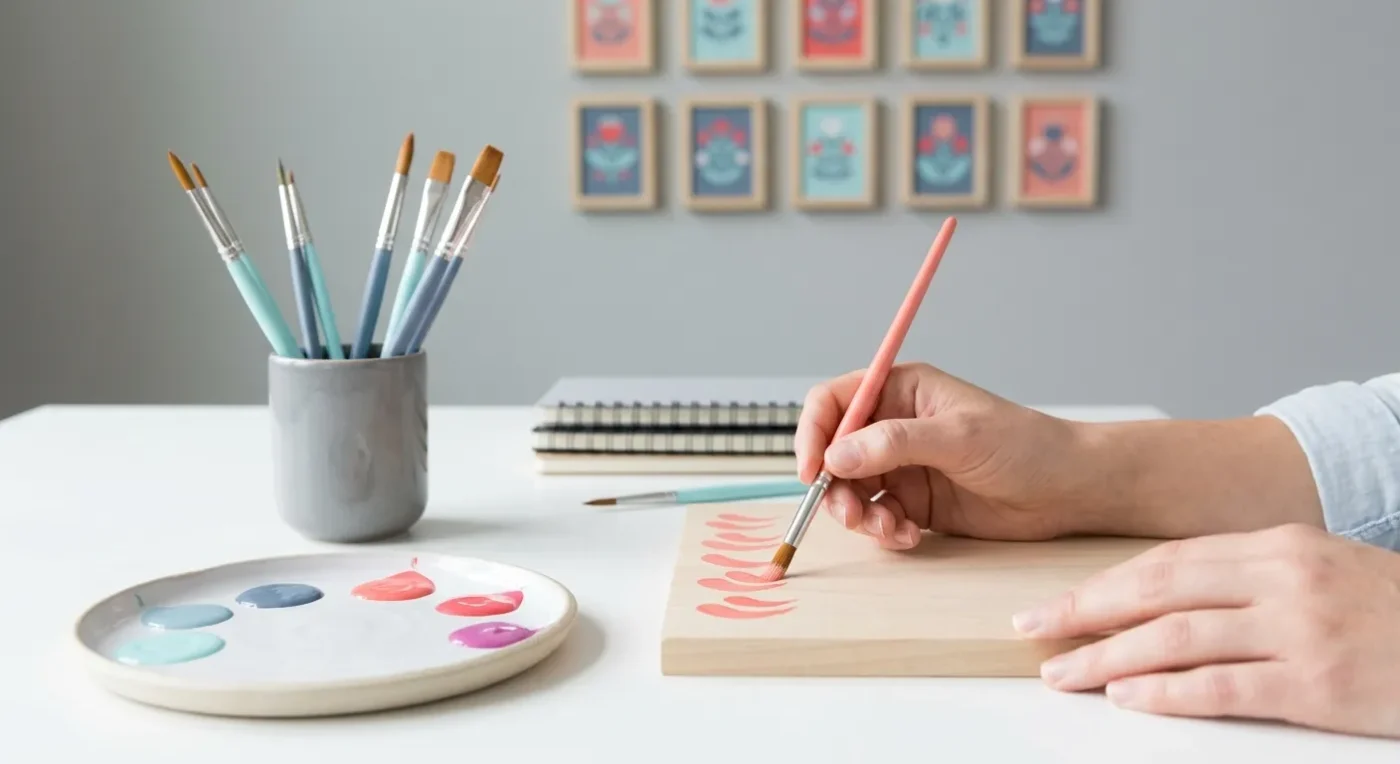

Welcome, fellow decorative artists! If you’re looking to elevate your projects with that authentic charm, understanding and mastering folk art painting strokes is your next big step. These foundational elements are the building blocks of countless beautiful designs, from delicate florals to intricate borders. In a world where online art courses are booming, with enrollments surging by 41% in 2026, there’s never been a better time to refine your craft from the comfort of your home.
At Paint Works Mag, we believe in empowering hobbyists with practical guidance. Let’s explore some core decorative painting strokes that will bring your folk art visions to life, building your confidence one brushstroke at a time.
Understanding the Foundation of Decorative Painting Strokes
Before we delve into specific techniques, it’s helpful to grasp the fundamental principles behind decorative painting. Essentially, these are controlled movements that, when combined, form intricate patterns and motifs. Consequently, developing muscle memory and a steady hand is crucial. Moreover, understanding how paint consistency and brush loading impact your results will significantly improve your work. For example, a properly loaded brush ensures a smooth, consistent application, which is vital for clean lines and shapes.
The Versatile Comma Stroke: Your Go-To Detailer
The comma stroke is arguably one of the most fundamental and versatile elements in folk art. It’s the perfect stroke for creating petals, leaves, and intricate scrollwork. Think of it as a tiny, curved teardrop.
How to Master It:
- Load Your Brush: Dip your round or flat brush into your paint, ensuring one side has a little more paint than the other. This creates a natural gradient.
- Touch and Drag: Start by touching the fuller part of your brush to the surface, applying gentle pressure. As you drag the brush, gradually lift and lighten the pressure, allowing the stroke to taper to a fine point.
- Practice Makes Perfect: Experiment with different pressures and angles. Try creating rows of commas, then combine them to form simple flowers or swirling patterns. Remember, the goal isn’t perfection but consistent control.
Practicing this stroke on scrap paper will build your confidence. Furthermore, try varying the size of your commas by adjusting the initial pressure. This simple adjustment can create a wide range of visual effects, adding depth to your designs.
The Elegant C-Stroke and S-Stroke: Adding Flow and Movement
Once you’re comfortable with the comma, the C-stroke and S-stroke are natural progressions that add beautiful flow and movement to your designs. These are fantastic for connecting elements, forming graceful leaves, or creating dynamic borders. Both require a smooth, continuous motion, which comes with practice.
Executing the C-Stroke:
Similar to the comma, but with a longer, more pronounced curve. Start with pressure, curve your brush, and lift as you complete the arc. Imagine drawing a perfect ‘C’ shape with varying thickness. Consequently, this stroke is ideal for creating the gentle curves of flower petals or the graceful flow of ribbons.
Executing the S-Stroke:
This stroke is essentially two C-strokes joined together, forming an elegant ‘S’ curve. It requires a smooth, continuous motion, starting with pressure, releasing, then reapplying pressure as you curve in the opposite direction, and finally lifting. In fact, mastering the S-stroke is a key indicator of developing fluid brush control, essential for advanced decorative painting.
Mastering the Teardrop Stroke: A Key to Floral Designs
The teardrop stroke is another foundational element, particularly useful for creating petals and leaves in folk art. It resembles a slightly elongated comma, often appearing fuller at one end and tapering to a fine point. Therefore, it’s perfect for building up layered floral motifs.
Technique for Teardrops:
- Initial Pressure: Begin by pressing your brush down firmly, creating the widest part of the teardrop.
- Controlled Lift: Gradually reduce pressure as you pull the brush, lifting it slowly to form the narrow tip.
- Consistent Shape: Aim for a smooth, continuous curve. Furthermore, practicing these strokes in a circular pattern can quickly form a flower.
This stroke, combined with the comma, forms the basis for many delightful floral arrangements seen in traditional folk art. Furthermore, varying the length and width of your teardrops adds character and natural appeal to your painted elements.
Essential Brush Control for Perfect Folk Art Painting Strokes
Achieving crisp, elegant folk art painting strokes hinges on excellent brush control. This isn’t just about holding the brush correctly; it’s about understanding how your hand, wrist, and arm work together. For instance, holding your brush too tightly can lead to shaky lines. Conversely, a relaxed grip allows for more fluid movements. Ultimately, practice is the only way to develop this essential skill. Many artists find that practicing basic lines and curves daily significantly improves their control. Therefore, dedicating a few minutes each day to these exercises can yield remarkable results.
Understanding Brush Types and Their Role
Different brushes yield different folk art painting strokes. For instance, a round brush is excellent for commas, teardrops, and dots due to its fine point. Conversely, a flat brush excels at creating broader, more even strokes and clean edges. Liner brushes, on the other hand, are perfect for delicate details and fine lines. Knowing which brush to use for each specific stroke is half the battle. Furthermore, maintaining your brushes properly ensures they perform optimally, which directly impacts the quality of your work.
Paint Consistency: The Unsung Hero
The consistency of your paint dramatically affects how your folk art painting strokes appear. Paint that is too thick can be clumpy and hard to work with, leading to uneven lines. Conversely, paint that is too thin will be watery and lack opacity. The ideal consistency is often described as similar to cream or melted butter—smooth, flowing, but still opaque. Therefore, always take the time to properly thin your paints with a little water or a painting medium before you begin. This small step can make a huge difference in the fluidity and precision of your strokes.
Advanced Folk Art Painting Strokes: Building Complexity
Once you’ve mastered the basic folk art painting strokes, you can begin to combine them and explore more complex variations. This is where your creativity truly blossoms, transforming simple elements into intricate designs. For example, layering comma strokes can create realistic-looking flower petals with depth. Similarly, integrating S-strokes into your borders adds an elegant, undulating rhythm.
The Scroll Stroke: Adding Graceful Flourishes
The scroll stroke is a beautiful, flowing line often used for decorative borders, flourishes, and connecting elements. It’s essentially an extended, more elaborate C or S-stroke, characterized by its graceful, spiraling movement. Consequently, it adds a touch of sophistication to any folk art piece.
Creating Scrolls:
- Light Touch: Begin with very light pressure, allowing the brush to glide.
- Vary Pressure: As you curve, subtly increase and decrease pressure to create thicker and thinner sections.
- Fluid Motion: Aim for a continuous, unbroken line. Practice creating various scroll shapes, from tight curls to sweeping arches.
Mastering the scroll stroke requires patience and a steady hand. However, the visual impact it creates is well worth the effort. Furthermore, scrolls are highly adaptable and can be customized to fit many different design aesthetics.
Dotting and Highlighting: The Finishing Touches
Often overlooked, tiny dots and highlights can completely transform a piece, adding depth and sparkle. Folk art often features clusters of dots or delicate lines that emphasize certain areas. These seemingly small additions can bring an entire design to life, making it pop.
Tips for Perfect Dots:
- Use the very tip of a round brush, a stylus, or even the blunt end of a pencil for perfectly round dots.
- Vary the size of your dots to create visual interest. Start with a larger dot and add smaller ones around it.
- Ensure your paint is the right consistency; too thin, and dots will spread; too thick, and they’ll be lumpy.
Highlights, on the other hand, are small touches of lighter paint applied to specific areas to suggest light reflection. For example, a tiny white dot on a berry or a thin line on a leaf can add incredible dimension. Therefore, always consider where your light source would be when adding these final touches.
Practicing and Developing Your Style with Folk Art Painting Strokes
Consistent practice is the cornerstone of mastering any art form, and folk art painting is no exception. Dedicate regular time to practicing your brush movements and individual folk art painting strokes. It’s not about creating a masterpiece every time; it’s about building muscle memory and confidence. Many artists find that keeping a
Explore more: More from Paint Works Mag