
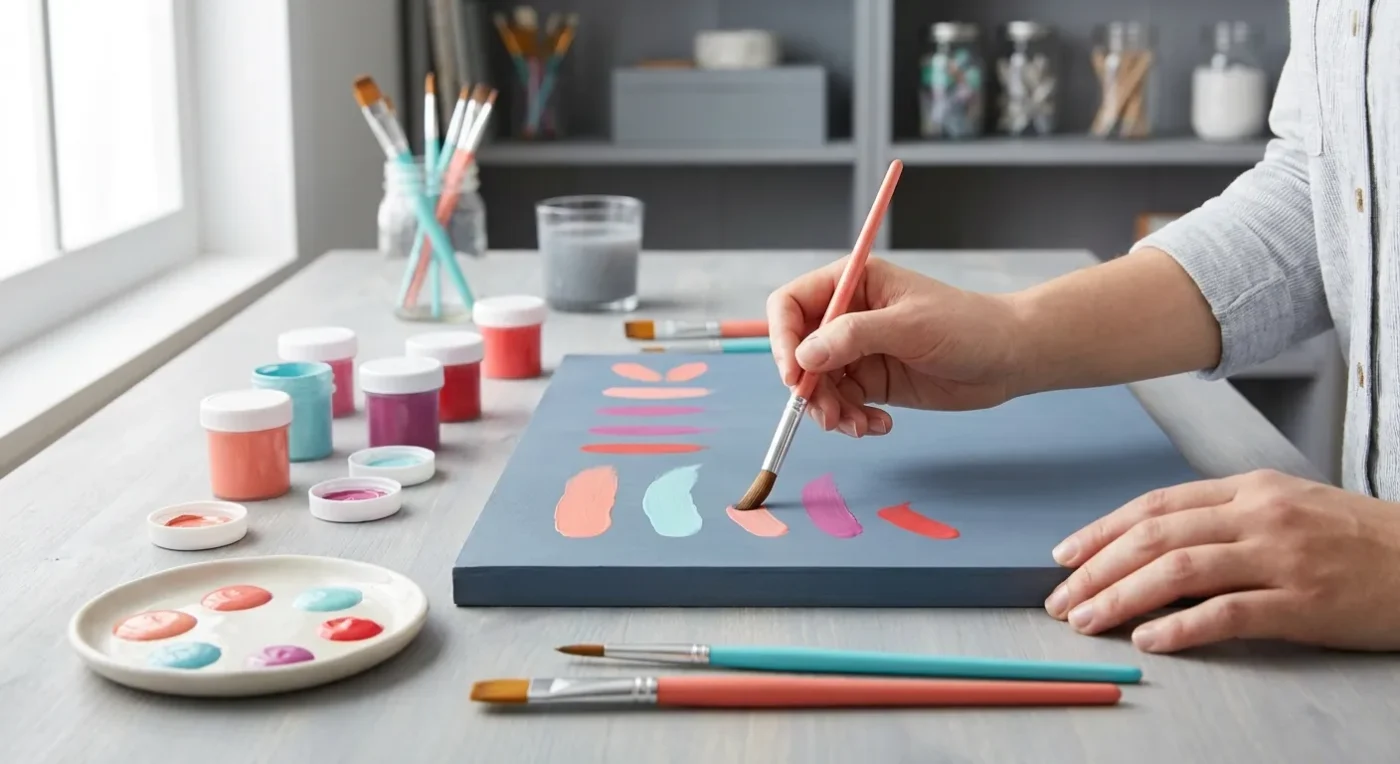

Welcome, fellow artists, to Paint Works Mag! Today, we’re diving into the essential building blocks of beautiful decorative painting: the basic folk art strokes. Whether you’re a seasoned crafter or just starting your journey into the world of folk art, mastering these fundamental brush movements will empower you to create stunning projects with confidence and ease. Think of these strokes as your artistic alphabet – once you know them, you can write any story on your canvas, wood, or ceramic piece.
In an era where the art classes market is growing significantly, especially with online learning dominating, accessible how-to content is more valuable than ever. We’re here to provide that step-by-step guidance, helping you embrace the joy of creating with your own hands, a trend that emphasizes ‘human-centric art’ over digital perfection. Let’s get started on laying a strong foundation for your folk art journey.
Why Mastering Fundamental Folk Art Brushwork Matters
Before we pick up our brushes, let’s consider why focusing on fundamental folk art brushwork is so crucial. Just as a musician practices scales, a painter hones their strokes. These movements are the foundation upon which all intricate folk art designs are built. Without a solid understanding and practice of basic strokes, even simple patterns can feel daunting. With them, you gain a world of creative possibilities.
Moreover, in a world increasingly influenced by digital perfection, there’s a strong trend towards celebrating the ‘human hand’ in art. Visible brushstrokes, the slight imperfections, and the unique touch of an artist are highly valued. By mastering your strokes, you’re not aiming for robotic precision, but rather for confident, expressive movements that showcase your personal touch. This aligns perfectly with the burgeoning creative economy and the desire for unique, handmade items.
Essential Decorative Painting Strokes to Practice
Let’s break down some of the most essential decorative painting strokes. For each, we’ll provide guidance on how to achieve them. Remember, practice is key, so don’t be afraid to fill pages with these movements!
The Comma Stroke
The comma stroke is arguably one of the most versatile and frequently used strokes in folk art. It’s the basis for many leaves, petals, and decorative scrolls.
- How to: Load your brush (typically a round brush) with paint, ensuring a good, even distribution. Touch the tip of the brush to your surface, apply gentle pressure, and then gradually increase pressure as you pull the brush in a curved motion, releasing pressure slowly as you lift it away. This creates a teardrop or comma shape, thick at one end and tapering to a fine point.
- Tips: Experiment with the amount of pressure and the speed of your stroke. A good comma stroke feels fluid and controlled. Furthermore, try practicing in different sizes.
The C-Stroke and S-Stroke
These curved strokes are fundamental for creating graceful lines, scrollwork, and various decorative elements. They represent the natural flow seen in many traditional folk art pieces.
- How to: For a C-stroke, load a liner or round brush. Begin with light pressure, gradually increasing it as you curve the brush, then lighten again to lift off the surface. The S-stroke is essentially two C-strokes joined together, flowing in opposite directions. Maintain a consistent, even pressure for smooth curves.
- Tips: Focus on maintaining a steady hand. Many artists find it helpful to rotate their surface as they paint to achieve smoother curves. Additionally, practice these strokes in both directions.
The Teardrop Stroke
Similar to the comma, the teardrop stroke is essential for petals and leaves, often used in conjunction with other strokes to build up a design.
- How to: Start with the tip of your brush, apply pressure to create the widest part of the ‘drop,’ and then smoothly lift the brush to a fine point. This stroke is often shorter and plumper than a comma stroke.
- Tips: Practice controlling the pressure from thick to thin. Consequently, try to make your teardrops consistent in size and shape for repetitive patterns.
The Dot
While seemingly simple, the dot is a powerful decorative element. It adds texture, emphasis, and can be used to create intricate patterns or outlines.
- How to: Load the tip of a round brush or a stylus with paint. Lightly touch the tool straight down onto the surface and lift straight up. The size of the dot depends on the pressure applied and the size of your tool.
- Tips: Use consistent pressure for uniform dots. Moreover, experiment with different brush sizes or the back of a paintbrush handle for varying dot sizes.
The Line Stroke (Fine and Broad)
Lines are the backbone of any drawing or painting. In folk art, you’ll use both fine, delicate lines and broader, more expressive ones.
- How to: For fine lines, use a liner brush with thinned paint. Apply very light, consistent pressure and pull the brush steadily. For broad lines, use a flat brush, applying even pressure across the entire width of the bristles.
- Tips: Practice drawing lines of varying lengths and thicknesses. Furthermore, try to maintain a consistent speed to avoid wobbly lines.
Tools and Materials for Practicing Folk Art Painting Techniques
Having the right tools can make a significant difference in your learning experience. Here’s a quick overview of what you’ll need to practice these fundamental folk art painting techniques:
- Brushes: Invest in a few good quality brushes. A small round brush (size 0, 2, or 4), a liner brush (size 00 or 0), and a small flat brush (1/4 inch or 1/2 inch) are excellent starting points for practicing basic folk art strokes. Brands like Princeton, Da Vinci, or Loew-Cornell offer reliable options.
- Paints: Acrylic paints are ideal for beginners due to their quick drying time and easy cleanup. Choose a few primary colors, plus black and white.
- Surface: Practice pads or even just plain paper are perfect for initial exercises. For more permanent practice, consider inexpensive wooden plaques or canvas boards.
- Palette: A ceramic plate, a plastic palette, or even a piece of wax paper works well for mixing paints.
- Water Container: Keep two containers of water handy – one for rinsing brushes and one for cleaner water to thin paints.
- Paper Towels: Essential for blotting brushes and cleaning up spills.
Remember, you don’t need the most expensive supplies to get started. Focus on understanding the brush control required for these decorative painting strokes.
Setting Up Your Practice Space for Folk Art Brushwork
A well-organized and comfortable practice space is crucial for effective learning. Consider these tips when setting up your area for practicing folk art brushwork:
- Good Lighting: Natural light is always best, but if that’s not possible, ensure you have bright, even lighting to avoid eye strain and accurately see your colors.
- Comfortable Seating: You’ll be spending some time here, so a comfortable chair and a table at an appropriate height are important.
- Organized Supplies: Keep your paints, brushes, and other tools within easy reach. This prevents interruptions and allows for a smooth creative flow.
- Cleanliness: Lay down newspaper or a protective mat to safeguard your work surface from spills.
By creating an inviting environment, you’ll be more likely to dedicate consistent time to mastering these essential decorative painting strokes.
Tips for Mastering Your Basic Folk Art Strokes
Consistent practice is key, but smart practice yields better results. Here are some invaluable tips to help you master your basic folk art strokes quickly and effectively:
- Start Simple: Don’t try to create a masterpiece on your first attempt. Focus purely on the movement and pressure of each stroke. Fill pages with just comma strokes or S-strokes.
- Break It Down: If a stroke feels complex, break it into smaller, manageable parts. For instance, an S-stroke is two C-strokes.
- Practice Regularly: Short, frequent practice sessions are more effective than one long, infrequent session. Even 15-20 minutes a day can make a significant difference in your brush control.
- Observe and Replicate: Look at examples of folk art. Try to identify the individual strokes used in a design and then attempt to replicate them.
- Experiment with Pressure: The amount of pressure you apply to your brush is perhaps the most critical factor in creating varied and expressive strokes. Practice varying your pressure from light to heavy and back again.
- Control Your Paint Consistency: Too thick, and your paint will drag; too thin, and it will be watery. Experiment to find the right consistency for each stroke. It should flow smoothly from your brush.
- Rotate Your Surface: Don’t be afraid to turn your practice paper or project. This allows you to paint strokes from a comfortable angle, resulting in smoother, more controlled movements.
- Learn from Mistakes: Every ‘mistake’ is a learning opportunity. Analyze what went wrong and try to adjust on your next attempt. Don’t get discouraged!
- Watch Tutorials: Supplement your practice by watching experienced artists demonstrate these strokes. Many free resources are available online. Consider exploring channels like The Painting Channel on YouTube for visual guidance.
- Join a Community: Engaging with other artists, even online, can provide motivation and feedback. Websites like DeviantArt offer communities for sharing and learning.
By consistently applying these tips, you’ll build muscle memory and confidence in your folk art painting techniques. Soon, these fundamental movements will become second nature.
Advancing Your Folk Art Painting Techniques
Once you feel comfortable with the individual basic folk art strokes, the real fun begins: combining them! This is where you start building more complex and beautiful designs. Consider these steps to advance your decorative painting skills:
- Combine Strokes: Start by using comma strokes to form leaves around a central stem, or combine C-strokes to create flowing scrollwork. The dot stroke can add details or highlights to other elements.
- Build Motifs: Folk art often features recurring motifs like flowers, leaves, berries, and simple animals. Practice constructing these motifs using the strokes you’ve mastered. For example, a simple flower might be made from five teardrop strokes arranged in a circle, with a dot in the center.
- Work on Composition: Begin to think about how different elements and motifs are arranged on your surface. Good composition creates balance and visual interest.
- Experiment with Color: While traditional folk art often uses a limited palette, don’t be afraid to experiment with color combinations. Try blending colors on your palette or even on your brush for shaded effects.
- Practice Shading and Highlighting: Adding subtle shading and highlighting can give your folk art designs depth and dimension. This often involves applying a slightly darker or lighter shade of paint with a very light touch, often using a comma or C-stroke.
- Explore Different Surfaces: Move beyond paper to wood, canvas, or even glass. Each surface presents unique challenges and opportunities for applying your folk art painting techniques.
The journey of mastering decorative painting is continuous. By consistently practicing and exploring, you’ll not only improve your technical skills but also develop your unique artistic voice. The joy of creating something beautiful with your own hands is truly rewarding.
Conclusion: Embracing Your Creative Journey with Basic Folk Art Strokes
Mastering the basic folk art strokes is more than just learning brush techniques; it’s about building confidence, fostering creativity, and connecting with a rich artistic tradition. We’ve explored why these foundational movements are so important, detailed several essential strokes, and provided practical tips for effective practice. Remember, every accomplished artist started with the basics. Your artistic journey is unique, and every stroke you paint contributes to your growth.
At Paint Works Mag, we believe that everyone can create beautiful art. By dedicating time to these fundamental folk art painting techniques, you’re not just learning to paint; you’re learning to express, to enjoy the process, and to create pieces that reflect your personal touch. So, pick up your brush, embrace the joy of creation, and let your artistic story unfold, one confident stroke at a time.
FAQ: Frequently Asked Questions About Folk Art Brushwork
What are the most important folk art painting techniques for beginners?
For beginners, focusing on the comma stroke, C-stroke, S-stroke, teardrop stroke, and dot is most important. These fundamental movements form the basis for almost all folk art designs and motifs.
How often should I practice decorative painting strokes?
Consistent practice is key. Aim for short, regular sessions, perhaps 15-30 minutes daily or a few times a week, rather than infrequent long sessions. This helps build muscle memory and improves control faster.
What kind of brushes are best for learning these painting fundamentals?
A small round brush (sizes 0-4), a liner brush (sizes 00-0), and a small flat brush (1/4 or 1/2 inch) are excellent for starting. These allow for a good range of the essential brush movements.
Can I learn folk art brushwork without formal classes?
Absolutely! With online tutorials, books, and consistent self-practice, many artists successfully learn these painting fundamentals. Paint Works Mag provides resources to guide your journey.
How do I make my folk art designs look more professional?
To make your designs look more professional, focus on consistent stroke execution, clean lines, and balanced composition. Additionally, practice shading and highlighting to add depth, and always ensure your paint consistency is correct for smooth application.
Explore more: More from Paint Works Mag