Learning how to blend paint smoothly with a brush is one of the most important skills in painting. Smooth transitions create depth, realism, and visual harmony. Therefore, when you learn to blend paint smoothly with control and precision, your artwork instantly looks more refined.
Many beginners struggle with harsh lines and muddy colors. However, blending is not about luck. Instead, it requires the right tools, proper timing, and thoughtful technique. As a result, once you understand the fundamentals, seamless gradients become much easier to achieve.
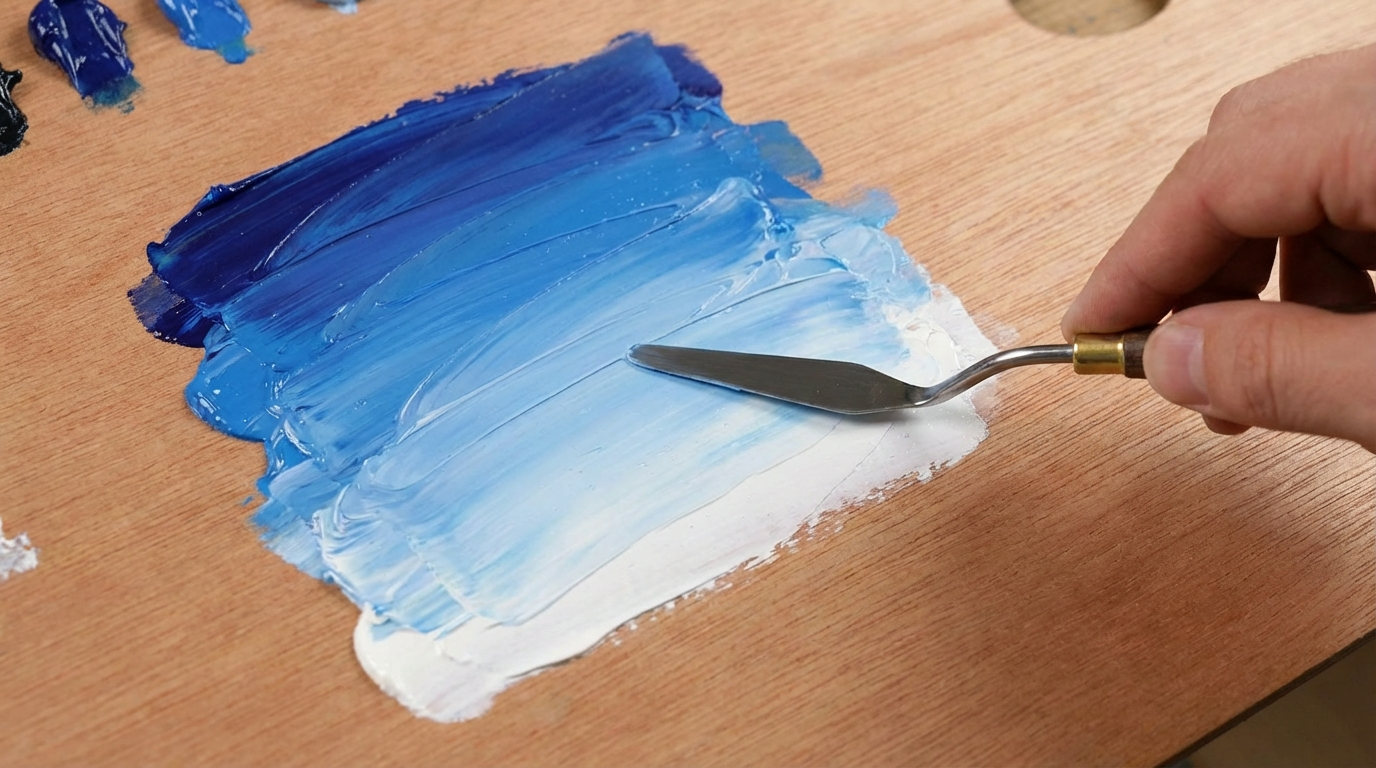
Whether you work in oil, acrylic, or watercolor, mastering soft transitions will elevate your results dramatically.
Choose the Right Brush for Seamless Blending
Brush selection directly affects your results. Soft bristles allow smoother transitions. Therefore, choose rounded or filbert brushes for gentle merging of colors.
Flat brushes also work well for broad gradients. However, stiff bristles may leave visible streaks. If your goal is to blend paint smoothly, softer synthetic or natural hair brushes often perform better.
Additionally, keep a clean, dry brush nearby. After laying down two adjacent colors, lightly sweep across the boundary. This motion softens edges without overmixing.
Brush size also matters. Larger brushes create smoother transitions across wide areas. Smaller ones refine detail. When you select tools intentionally, blending becomes more controlled and consistent.
Control Paint Consistency and Thickness
Paint texture plays a critical role in smooth blending. Thick paint resists merging. Conversely, overly thin paint can become patchy.
For oil paints, add a small amount of medium to improve flow. With acrylics, work quickly or use a retarder to slow drying. Watercolor requires balanced water control to avoid hard edges.
If you want to blend paint smoothly, both colors must share similar consistency. Uneven thickness causes streaking.
Before applying paint to your canvas, test mixtures on a palette. Observe how they interact. This preparation prevents unwanted texture or harsh transitions during application.
Balanced viscosity ensures that your brush glides rather than drags.
Work While the Paint Is Still Wet
Timing significantly influences blending success. Wet-on-wet techniques produce the softest results. Therefore, apply adjacent colors before either begins to dry.
In oil painting, extended drying time offers flexibility. Acrylic painters, however, must move quickly. To maintain workable surfaces, mist lightly with water or use slow-drying mediums.
As you overlap strokes gently, avoid excessive pressure. Instead, allow the brush to sweep lightly across the surface.
When you blend paint smoothly during the workable window, edges dissolve naturally. Hard lines disappear without overworking the surface.
Use Light, Repeated Strokes
Blending requires patience. Instead of pressing firmly, use light and repeated strokes. Gentle motion prevents unwanted texture.
Start by placing two colors side by side. Then move your brush back and forth across the boundary. Gradually soften the line between them.
Additionally, clean your brush frequently. Excess pigment creates muddy areas. A clean tool keeps transitions clear and controlled.
If needed, use a dry brush to feather edges. This technique works especially well in portrait and sky painting.
Through steady practice, you will blend paint smoothly without visible streaks or abrupt shifts.
Master the Art of Feathering
Feathering involves lightly dragging the tip of the brush across wet paint. This motion softens transitions subtly.
To feather effectively, reduce pressure and slow your stroke. Allow bristles to barely touch the surface.
Because this method avoids aggressive mixing, colors retain vibrancy. Over-blending often dulls tones. Therefore, subtlety remains essential.
Feathering works well for clouds, skin tones, and atmospheric effects.
When you practice feathering regularly, you improve control and refine detail.
Blend in Layers for Greater Depth
Sometimes, one blending pass is not enough. Layering enhances depth and richness.
Allow the first layer to dry slightly. Then apply thin glazes to refine transitions. In oil painting, glazing creates luminous gradients. Acrylic artists can use transparent mediums for similar effects.
Layering prevents overworking. Instead of forcing colors together in one attempt, you build gradual transitions over time.
If your goal is to blend paint smoothly in complex areas, layered blending often produces superior results.
Avoid Overmixing and Muddy Colors
Overmixing destroys clarity. While blending requires merging, excessive strokes dull vibrancy.
To prevent muddiness, limit brush passes. Once edges soften, stop.
Additionally, maintain distinct areas of color. Complete uniformity often looks flat. Subtle variation adds realism and energy.
Clean tools frequently to avoid contaminating hues. When colors retain purity, transitions appear cleaner and more professional.
Understanding restraint is key to smooth blending success.
Adjust Technique for Different Mediums
Each paint type demands unique handling. Oils provide extended blending time. Acrylics require speed and planning. Watercolors rely on controlled moisture levels.
In oil painting, you can revisit areas hours later. Acrylic artists may need blending mediums to extend workability. Watercolor painters must anticipate pigment flow on wet paper.
Therefore, adapt your strategy to suit your materials.
When you understand medium-specific behavior, you naturally blend paint smoothly without fighting the drying process.
Practice Gradient Exercises Regularly
Skill improves through repetition. Create simple gradient studies using two or three colors.
Paint a rectangle divided into sections. Gradually transition from one hue to another. Focus on even strokes and clean blending lines.
Repeat this exercise weekly. Over time, hand control and timing improve dramatically.
Practice builds muscle memory. Eventually, smooth transitions become automatic rather than forced.
Consistent drills help you blend paint smoothly with confidence and precision.
Use a Soft Finishing Brush for Final Touches
After primary blending, use a clean, soft brush for finishing. Lightly sweep across the surface to unify texture.
This final pass removes minor streaks and evens transitions. However, avoid pressing too hard. Gentle strokes preserve earlier work.
Many professional painters rely on this subtle finishing technique to achieve polished results.
When applied thoughtfully, finishing strokes elevate your entire painting.
Create Depth Through Value Transitions
Blending is not only about color. Value contrast creates dimension.
To build depth, transition gradually between light and shadow. Smooth value shifts enhance realism, especially in portraits and landscapes.
Instead of abrupt changes, soften boundaries slowly. This approach mimics natural light behavior.
When you blend paint smoothly across value ranges, forms appear rounded and three-dimensional.
Strong value blending transforms flat surfaces into lifelike imagery.
Conclusion: Smooth Blending Builds Professional Results
Mastering how to blend paint smoothly with a brush takes patience and practice. However, the rewards are significant. Clean transitions create depth, harmony, and realism.
By selecting proper brushes, controlling paint consistency, and working within the right timeframe, you achieve better results. Moreover, layering and feathering techniques refine precision.
Avoid overmixing, maintain clean tools, and practice gradient exercises regularly.
Ultimately, when you consistently blend paint smoothly, your paintings gain polish and professionalism. Smooth blending transforms simple color application into expressive artistry.
FAQ
- Why do my blended areas look streaky?
Streaks often occur due to stiff brushes or uneven paint thickness. Softer bristles and balanced consistency help. - Can I blend acrylic paint after it dries?
Once acrylic dries, blending becomes difficult. Use slow-drying mediums to extend workable time. - How do I prevent muddy colors while blending?
Limit brush passes and clean tools frequently to maintain color clarity. - Is blending easier with oil paint?
Oil paint offers longer working time, which often makes transitions easier for beginners. - What is the best exercise to improve transitions?
Practice simple gradient studies using two colors to build control and smoothness.
Leave a Comment