
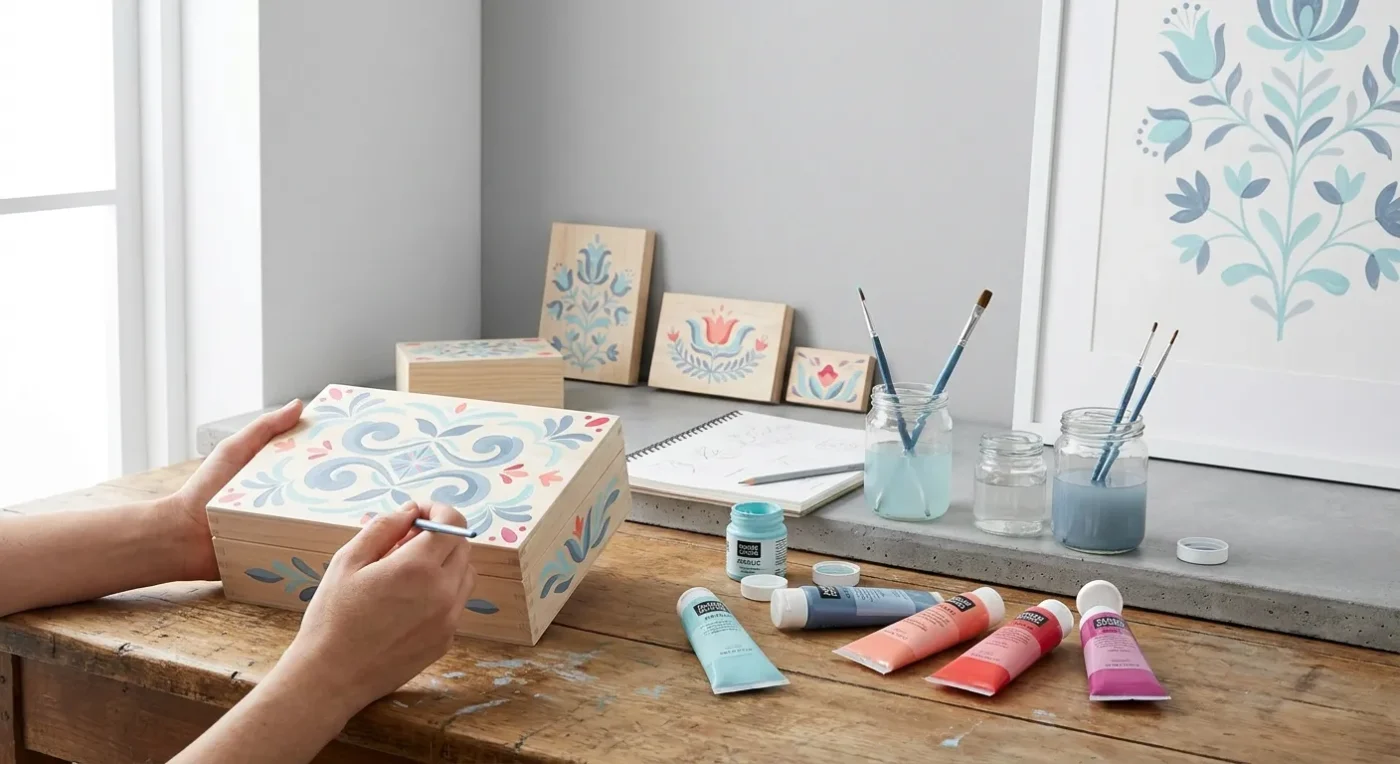

Welcome back to Paint Works Mag! Today, we’re taking the fundamental brushstrokes you’ve been practicing and showing you how to combine them into beautiful traditional folk art patterns. It’s truly magical to see how a few simple comma strokes, C-strokes, and dots can transform into intricate rosettes, elegant borders, or charming floral motifs. This article will guide you through the process, helping you unleash your creativity and build confidence in your decorative painting journey.
In a world increasingly valuing ‘human-centric art’ that celebrates emotion and imperfection over AI perfection, the ability to construct these patterns by hand is a powerful form of expression. As the online art courses market continues its robust growth, Paint Works Mag is dedicated to providing accessible, practical guidance that empowers hobbyists like you to create stunning, unique pieces that proudly bear your personal touch.
From Strokes to Story: The Power of Classic Decorative Painting Designs
Once you’ve mastered the individual components, the real fun begins: assembling them into classic decorative painting designs. These traditional patterns are not just pretty; they tell stories, represent cultural heritage, and allow for endless personal interpretation. The beauty of folk art lies in its accessibility – it doesn’t demand hyper-realistic rendering, but rather confident, expressive forms built from foundational elements.
Think about the rise of DIY creativity and nature-inspired aesthetics in home design. By learning to create these patterns, you’re not just painting; you’re crafting unique decor, personalizing gifts, and adding a touch of handmade charm to your surroundings. This aligns perfectly with the evolving consumer demands for authentic, handcrafted items and the joy of eco-conscious living through creative expression.
Deconstructing Common Folk Art Elements
Let’s look at how some common folk art elements and motifs are constructed using the basic strokes we discussed previously. You’ll be surprised at how simple they are at their core.
The Folk Art Rosette
The rosette is a staple in many folk art traditions, often seen as a stylized flower. It’s primarily built from comma strokes.
- Construction: Start with a central dot. Around this dot, paint a series of comma strokes, with the thick end pointing towards the center. You can do a single layer or add a second, larger layer of comma strokes behind the first for a fuller look. Varying the color of each layer can add depth.
- Variations: Experiment with the size and curve of your comma strokes. You can also add smaller dots or fine lines (using a liner brush) for embellishment between the ‘petals’.
Simple Leaf and Vine Borders
Borders are fantastic for framing pieces or creating continuous patterns. Leaves and vines are often made with C-strokes and comma strokes.
- Construction: To create a simple leaf, use a single comma stroke or two C-strokes joined at the base. For a vine, paint a wavy line with a liner brush. Then, attach your leaves at regular intervals along the line. Furthermore, you can add small dots or berries for extra detail.
- Variations: Change the direction of your C-strokes for different leaf shapes. Consider layering different shades of green for more natural-looking foliage.
Stylized Berries and Fruit Clusters
Many decorative painting motifs feature berries or small fruit clusters. These elements provide pops of color and texture.
- Construction: Berries are typically formed with simple dots or small, rounded C-strokes. To create a cluster, group several dots closely together. You can add a tiny highlight dot to each berry for a glossy effect.
- Variations: Experiment with different sizes of dots within a cluster. Add small connecting lines with a liner brush to imply stems.
Bringing It All Together: Designing Your Own Folk Art Compositions
Understanding individual elements is one thing, but composing them into cohesive folk art designs is where your artistic voice truly emerges. This section focuses on practical steps for creating your own unique pieces.
Planning Your Layout
Before you even touch your brush to the surface, a little planning goes a long way. First, consider the item you are decorating. Is it a wooden box, a canvas, or a piece of furniture? Next, think about the focal point. Where do you want the viewer’s eye to go?
You might sketch out a few ideas on paper. This helps visualize the arrangement of your chosen folk art motifs. For example, a central rosette with radiating leaves and border elements often creates a balanced composition. Consequently, proper planning saves time and prevents frustration.
Choosing Your Color Palette
Color plays a crucial role in folk art. Traditional palettes often feature bold, earthy tones, but modern interpretations can be vibrant and whimsical. Furthermore, consider the mood you want to convey. Warm colors like reds and yellows evoke energy, while cool blues and greens suggest calmness.
Limit your initial palette to 3-5 colors. This helps maintain harmony and makes color mixing less daunting. Remember, you can always add more colors later if needed. For inspiration on historical color usage, explore resources like The Metropolitan Museum of Art‘s digital collections.
Step-by-Step Assembly of Folk Art Patterns
Let’s walk through an example of assembling a simple design using the elements we’ve discussed. This approach helps you build confidence in creating your own traditional folk art patterns.
- Central Motif: Begin with your main element. If it’s a rosette, paint your central dot and the first layer of comma strokes. Allow this to dry slightly.
- Expanding the Rosette: Add a second layer of comma strokes, perhaps in a different color, to build out the rosette. This creates depth and visual interest.
- Adding Leaves: Now, using C-strokes or comma strokes, add leaves around your rosette. These can be symmetrical or asymmetrical, depending on your desired look.
- Creating a Border: If you’re adding a border, start with your vine line. Then, attach small leaves and berries along its length. Ensure spacing is relatively consistent for a polished look.
- Embellishments: Finally, add tiny dots, swirls, or fine lines with a liner brush to fill in gaps and add intricate details. These small touches truly bring your folk art designs to life.
Exploring Regional Styles of Folk Art Painting
Folk art is incredibly diverse, with distinct styles emerging from different cultures and regions. Understanding these variations can inspire your own traditional folk art patterns and broaden your appreciation for the craft.
Pennsylvania Dutch Folk Art
Known for its vibrant colors and distinctive motifs, Pennsylvania Dutch folk art often features tulips, hearts, birds (especially distelfinks), and stars. These designs frequently adorn furniture, pottery, and textiles. The brushwork tends to be bold and confident, with a strong emphasis on symmetry. Moreover, the colors are typically bright and cheerful, reflecting the community’s agricultural roots.
Scandinavian Rosemaling
Originating in Norway, Rosemaling is characterized by flowing, ornate designs featuring C-strokes, S-strokes, and scrolls. Flowers, leaves, and abstract elements intertwine to create intricate compositions. Typically, colors are rich, often incorporating deep reds, blues, and greens against lighter backgrounds. This style requires a delicate touch and a good understanding of continuous line work, making it a beautiful example of complex traditional folk art patterns.
Mexican Talavera Folk Art
While primarily known for pottery, the patterns and motifs of Talavera are deeply rooted in Mexican folk art. Expect to see intricate floral designs, birds, geometric patterns, and often a vibrant blue used alongside yellows, greens, and oranges. The brushwork is precise, yet retains a handmade charm. These designs are a testament to how traditional folk art patterns can be adapted across different mediums.
Tips for Mastering Your Brushwork and Creating Beautiful Folk Art Designs
Consistent practice is the key to developing skill in any art form, and decorative painting is no exception. Here are some actionable tips to help you refine your brushwork and improve your ability to create stunning folk art patterns.
Practice Basic Strokes Daily
Dedicate a few minutes each day to practicing your comma strokes, C-strokes, S-strokes, and dots. Use scrap paper or a practice board. This repetition builds muscle memory, making your strokes smoother and more consistent. Consequently, your confidence will grow with each practice session.
Understand Your Brushes
Different brushes yield different results. A round brush is excellent for comma strokes and dots, while a liner brush is perfect for fine lines and small details. A flat brush can create crisp edges and interesting fills. Experiment with various brushes to understand their capabilities. Dick Blick Art Materials offers a wide selection and helpful guides on brush types.
Control Paint Consistency
The consistency of your paint dramatically affects your strokes. Too thick, and it will drag; too thin, and it will be watery. Aim for a creamy consistency, similar to thin yogurt. This allows the paint to flow smoothly from your brush. Furthermore, proper paint consistency is vital for achieving clean, crisp lines and solid fills in your traditional folk art patterns.
Work in Layers
Many decorative painting techniques involve layering. Paint your background first, then your larger elements, and finally, add your details. Allow each layer to dry before applying the next. This prevents colors from blending unintentionally and creates clean, distinct patterns.
Embrace Imperfection
Remember, folk art celebrates the handmade quality. Don’t strive for machine-like perfection. Instead, embrace the slight variations and unique character that comes from hand-painted work. These ‘imperfections’ are what give your pieces soul and charm. Every brushstroke tells a part of your artistic journey.
The Enduring Appeal of Hand-Painted Folk Art Motifs
In an age dominated by digital imagery, the tactile beauty and personal touch of hand-painted folk art remain deeply appealing. These decorative painting motifs connect us to history, culture, and the simple joy of creation. They offer a refreshing counterpoint to mass-produced items, providing a sense of authenticity and warmth.
Learning to create these designs is more than just acquiring a skill; it’s engaging in a meditative, rewarding process. It’s about bringing beauty into your home and sharing it with others. We hope this guide has inspired you to continue exploring the wonderful world of traditional folk art patterns and to confidently build your own beautiful designs with simple strokes. Happy painting!
FAQ
How can I find inspiration for new folk art designs?
Look to historical examples from different cultures, explore museums online, or even observe nature around you. Many traditional art patterns are inspired by flora and fauna. Additionally, consider books on decorative painting for unique motif ideas.
What are the best brushes for creating these decorative painting motifs?
For most folk art styles, a good quality round brush (sizes 2-6), a liner brush (size 0 or 1), and a small flat brush (1/4 inch or 1/2 inch) will cover most of your needs. Synthetic brushes are often preferred for their durability and smooth application with acrylics.
Can I use different types of paint for these traditional patterns?
While acrylic paints are popular for their ease of use and quick drying time, you can also use oil paints, tempera, or even watercolors for specific effects. The choice of paint often depends on the surface you are decorating and the desired finish. Always ensure your chosen paint is suitable for the surface.
How do I make my painted folk art designs durable?
To protect your finished work, apply a clear varnish or sealer once the paint has fully cured. This provides a protective layer against dust, moisture, and wear. The type of sealer will depend on whether your piece is for decorative purposes or will experience heavy use.
Is it necessary to sketch my designs before painting?
For beginners, sketching your decorative patterns lightly with a pencil first can be very helpful. It allows you to plan your composition and correct mistakes before applying paint. As you gain confidence, you might find yourself sketching less or even painting directly onto your surface.
Explore more: More from Paint Works Mag