
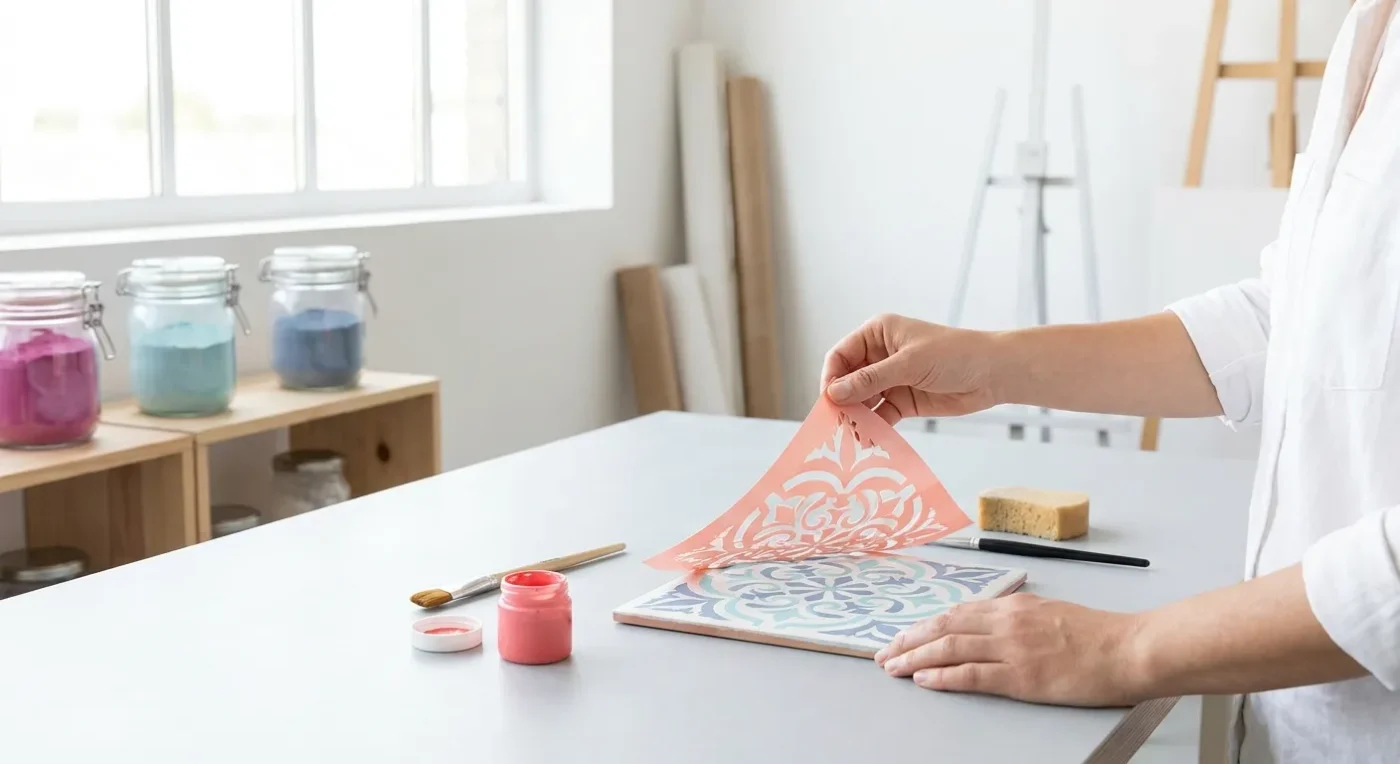

Greetings, fellow crafters! Stenciling is a wonderful technique for adding intricate details, repetitive patterns, and professional-looking elements to your decorative painting projects. However, achieving those crisp, clean lines and avoiding frustrating bleeds can sometimes feel like a challenge. At Paint Works Mag, we’re dedicated to empowering you with the skills to overcome these hurdles. Today, we’re diving deep into perfecting intricate stenciling, providing you with advanced tips and techniques to ensure every design is flawless, sharp, and truly impressive.
The Foundation: Choosing Your Materials Wisely
Flawless stenciling begins before the first brushstroke. Consequently, the right materials are crucial for intricate designs.
Stencil Types and Durability
- Mylar Stencils: These are durable, flexible, and reusable, making them ideal for detailed and intricate patterns. They are easy to clean and resist tearing.
- Adhesive Stencils: For extremely fine details or curved surfaces, adhesive stencils (often vinyl) can be excellent as they minimize bleed. Nevertheless, they are typically single-use.
Paint Consistency is Key
For stenciling, especially intricate designs, thicker paint is always better. Thin, watery paint will inevitably bleed under the stencil. Acrylic craft paints, when slightly thickened or used with a stenciling medium, are perfect. If your paint feels too thin, let it sit open for a short while to thicken, or add a tiny amount of cornstarch or commercial thickening agent. For example, some artists prefer specific acrylic mediums for fabric painting, which can also aid in stencil application.
The Right Applicator
- Stencil Brushes: These are short, stiff-bristled brushes designed for dabbing, which pushes paint straight down rather than under the stencil.
- Sponge Daubers: Excellent for achieving even coverage and soft edges, especially on larger areas or for gradient effects.
- Roller (Mini Foam Roller): For very large stencils or wall applications, a dense foam roller can provide quick, even coverage, but use with minimal paint to avoid pushing it under the edges.
Advanced Techniques for Crisp Lines
Now, let’s refine your application methods to ensure no more blurry edges. This section is vital for truly perfecting intricate stenciling.
1. Secure Your Stencil Like a Pro
This is perhaps the most critical step for achieving neat results. Movement is the enemy of crisp lines.
- Repositionable Spray Adhesive: Apply a very light, even coat to the back of your stencil. Allow it to become tacky for a minute or two before pressing it firmly onto your surface. This creates a temporary, light bond that holds the stencil flat and prevents paint from seeping underneath. Ensure you use a spray adhesive specifically designed for stencils and clean your stencil thoroughly after each use to prevent residue buildup.
- Painter’s Tape: For larger stencils or when working on fabric, use painter’s tape around all edges to further secure it. Ensure the tape is pressed down firmly.
2. The ‘Less is More’ Paint Rule
Overloading your applicator is a common mistake. Instead, offload excess paint onto a paper towel or scrap piece of cardboard until your brush or dauber is almost dry. This ‘dry brush’ technique is fundamental for preventing bleeds. Furthermore, multiple thin coats will always yield better results than one thick coat.
3. Vertical Application for Precision
When using a stencil brush or dauber, always apply paint with a gentle, vertical dabbing motion. Avoid brushing or dragging the paint horizontally. This dabbing action pushes the paint fibers directly down onto the surface, minimizing the chance of paint sneaking under the stencil edges. This is particularly important when working on fine details.
4. Layering Colors for Depth
Intricate stenciling often benefits from layered colors. Apply your base color first, allowing it to dry completely. Then, use a lighter or darker shade, or even a metallic accent, to add dimension. This technique is similar to the principles discussed in our guide on Mastering Layering Techniques for Depth in Folk Art. Consequently, you can achieve stunning visual effects.
5. The Importance of Proper Lift-Off
Once your final coat of paint is applied and slightly dry to the touch (but not fully cured), carefully peel the stencil away. Pull it straight up, rather than dragging it across the surface. This minimizes smudging and helps preserve the crispness of your design. For very delicate stencils, lift one corner slowly and peel back at an acute angle.
Troubleshooting Common Stenciling Issues
Even with careful preparation, challenges can arise. Here’s how to address them.
Paint Bleeding Under the Stencil
This is the most frequent issue. Usually, it’s due to too much paint on the applicator, paint that is too thin, or insufficient stencil adhesion. Revisit the