
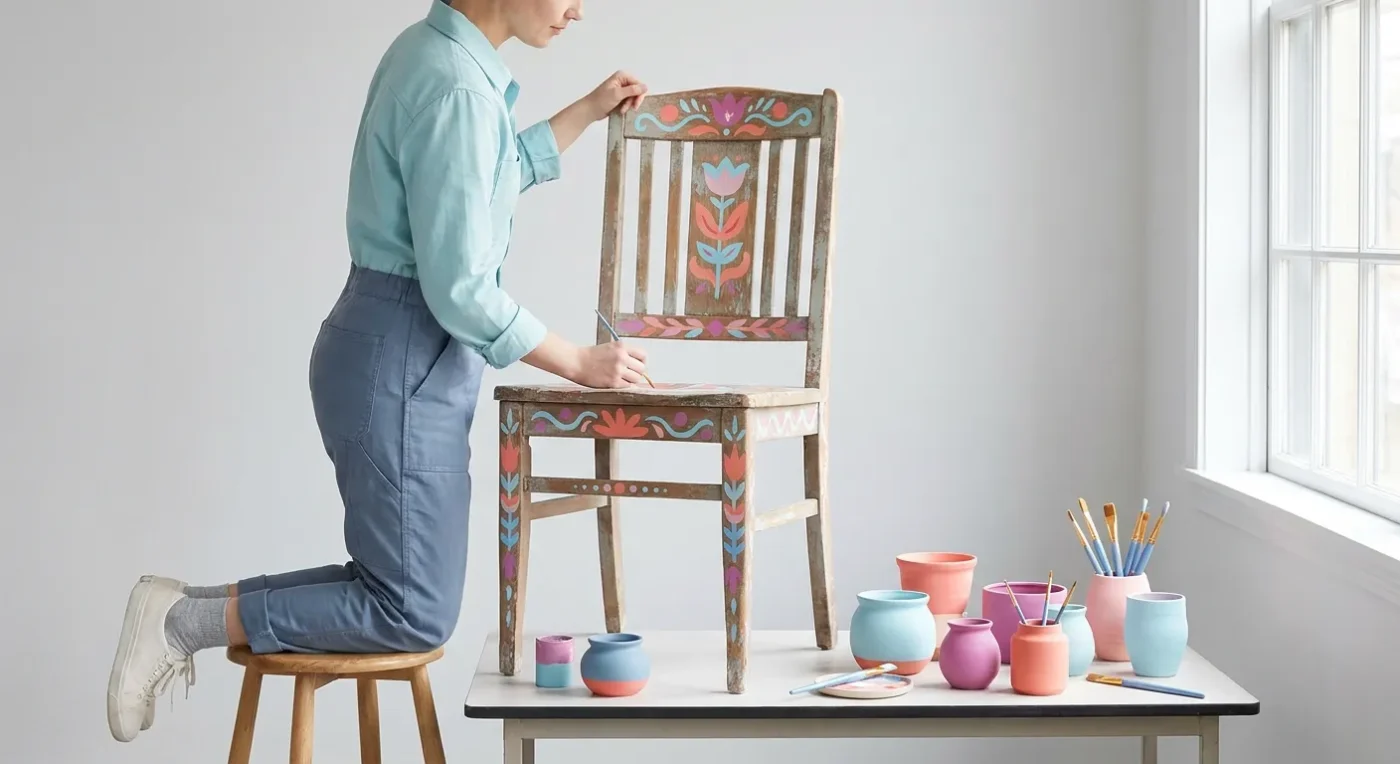

Give new life to forgotten pieces by learning to upcycle furniture folk art style! This creative endeavor not only offers a sustainable way to refresh your home decor but also provides a wonderful canvas for your decorative painting skills. Imagine transforming a plain wooden chair, an old chest of drawers, or even a simple side table into a vibrant, unique statement piece that tells a story. Indeed, embracing this technique allows artists of all levels to personalize their living spaces while practicing valuable painting skills.
Preparing Your Furniture Canvas for Folk Art
Before you dive into painting, proper preparation is key to ensuring your folk art masterpiece lasts. First, thoroughly clean your furniture piece to remove any dust, grime, or grease. A mild detergent and water usually do the trick. For pieces with existing paint or varnish, a light sanding will help create a surface that your new paint can adhere to. If the surface is very slick or has imperfections, consider a primer. This step creates an even base and can prevent old colors from bleeding through, making your folk art designs pop with true vibrancy. Ensure the piece is completely dry before moving on to the exciting part. Remember, a well-prepped surface is the foundation for a beautiful finish.
Designing and Painting Your Folk Art Transformation
Once prepped, it’s time to unleash your creativity. Begin by sketching your folk art designs directly onto the furniture with a pencil, or use transfer paper for more intricate patterns. Think about traditional folk art motifs like stylized flowers, leaves, birds, or geometric patterns that complement the shape and purpose of your furniture. When painting, work in thin, even coats, allowing each layer to dry before adding the next. This prevents streaking and builds up color smoothly. Don’t be afraid to experiment with color combinations; folk art often embraces a playful and bold palette. Once your painting is complete and fully dry, apply a protective sealer or varnish to safeguard your beautiful work from wear and tear, ensuring it remains a cherished piece for years to come. This final step is crucial for longevity.
Upcycling furniture with folk art is a deeply rewarding process. It allows you to practice new techniques, personalize your living space, and contribute to a more sustainable lifestyle. Each stroke adds character, transforming the ordinary into something truly extraordinary. Furthermore, this approach to decorating truly reflects your individual artistic touch.
Choosing the Right Furniture to Upcycle
Selecting the ideal piece to paint is the first exciting step. Look for solid wood furniture at thrift stores, flea markets, or even in your own attic. Sturdy construction is important, as it will withstand the preparation and painting process. Consider the shape and existing details of the furniture. A piece with interesting lines or carvings can inspire your folk art motifs. For instance, a plain dresser offers a large, flat canvas, perfect for elaborate scenes. Conversely, a small stool might be ideal for a simpler, repeating pattern. Don’t overlook pieces with minor cosmetic flaws; these are often perfect candidates for a transformation, as your paintwork will cover them beautifully. Ultimately, choose something that sparks your imagination and fits your skill level. Consequently, your project will be more enjoyable and successful.
Essential Tools and Materials for Folk Art Furniture
Before you begin, gather your supplies. For surface preparation, you’ll need mild detergent, sponges, sandpaper (medium and fine grit), and possibly a wood filler for any dents or cracks. A good quality primer is often beneficial, especially for dark or slick surfaces. Regarding paints, acrylics are a popular choice for their versatility, quick drying time, and wide range of colors. Fabric paints can also be adapted for furniture, offering a matte finish. Invest in a variety of brushes: flat brushes for larger areas, round brushes for details, and perhaps a liner brush for fine lines. Additionally, a palette for mixing colors, a water container for cleaning brushes, and clean rags are indispensable. Finally, a clear topcoat, such as polyurethane or a clear varnish, is essential for protecting your finished artwork. Having all your materials ready will streamline your creative process.
Exploring Folk Art Styles and Motifs
Folk art encompasses a vast array of styles from different cultures and regions. Researching these styles can provide endless inspiration for your upcycle furniture folk art project. Consider American folk art, known for its whimsical animals, stylized florals, and patriotic themes. Scandinavian folk art often features intricate floral patterns, geometric designs, and bright, cheerful colors. Mexican folk art, on the other hand, is vibrant and symbolic, often incorporating mythical creatures and religious iconography. Pennsylvania Dutch folk art, for example, is famous for its ‘hex signs’ and ‘distelfinks’ (stylized birds). Choose a style that resonates with you and complements your home’s aesthetic. Moreover, incorporating elements from different traditions can result in a truly unique fusion. Experiment with simplified forms and bold outlines, which are hallmarks of many folk art traditions. This exploration helps you develop your personal artistic voice.
Step-by-Step Guide to Upcycle Furniture Folk Art
Step 1: Clean and Repair
Start by thoroughly cleaning your furniture piece. Use a degreaser if necessary. Next, sand the entire surface lightly with medium-grit sandpaper, then follow with fine-grit. This creates a good
Explore more: More from Paint Works Mag