
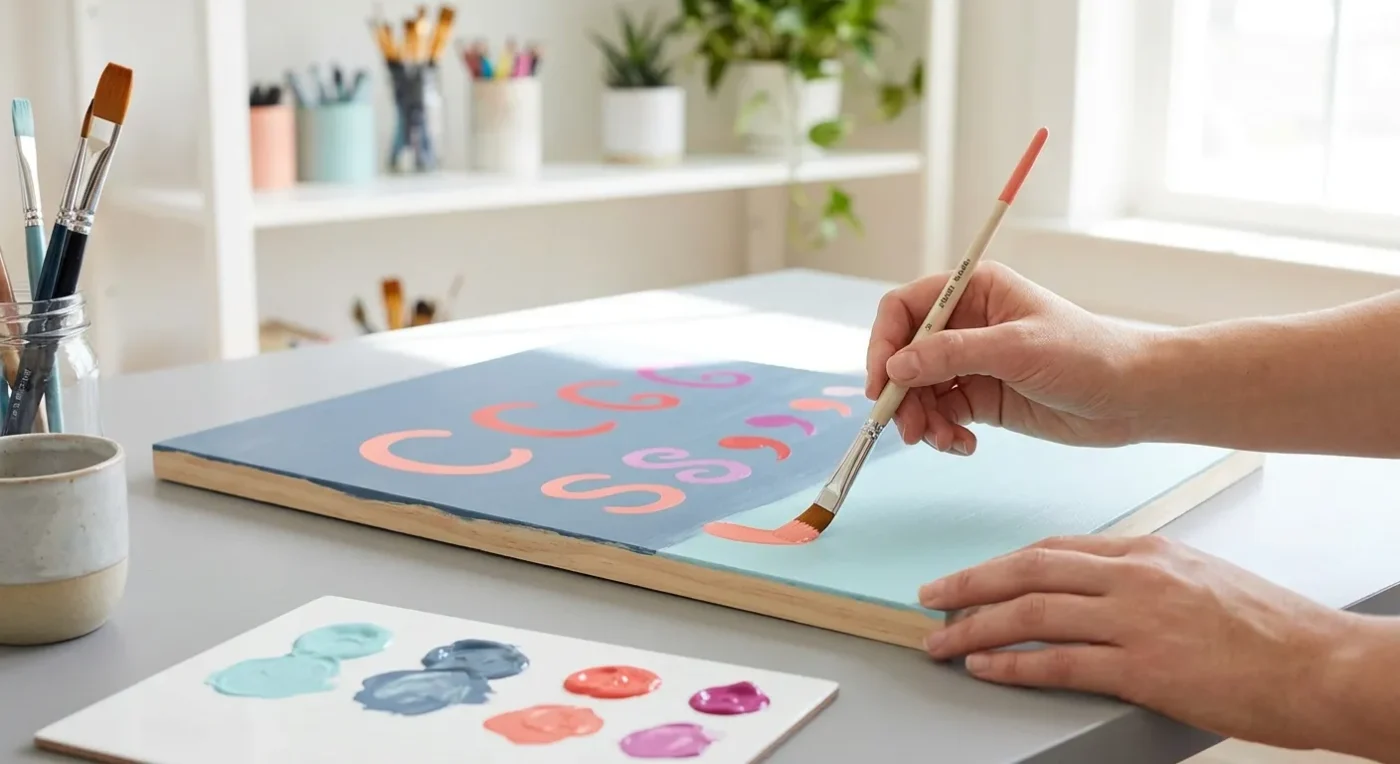

Learning basic brush strokes decorative painting is the cornerstone of creating beautiful folk art and craft projects. It might seem daunting at first, but with a little guidance and practice, you’ll be confidently creating intricate designs in no time. At Paint Works Mag, we believe everyone can unleash their inner artist, and mastering these foundational movements is your exciting first step on that journey.
Why Master Essential Brush Strokes?
Before you can paint a charming floral motif or a detailed landscape, understanding how your brush interacts with the surface is crucial. Each stroke, from a simple line to a curved comma, builds the vocabulary of your artistic expression. By practicing these fundamental strokes, you develop muscle memory, control, and precision. This translates into smoother, more confident painting, regardless of the project. Furthermore, a solid foundation in these techniques will allow you to explore more complex styles later on.
Your Essential Brush Toolkit for Decorative Art
While decorative painting can involve many brushes, a few key types will cover most basic brushwork. Choosing the right brush for the job significantly impacts the outcome of your art. Consequently, investing in quality tools from the outset is a wise decision. For example, consider a well-rounded set that includes various shapes and sizes.
- Round Brush: Excellent for lines, dots, and comma strokes. Sizes vary, but a No. 2 or No. 4 is a good starting point. These brushes are incredibly versatile.
- Flat Brush (Shader): Ideal for blocking in color, creating crisp edges, and blending. A 1/4 inch or 1/2 inch is versatile. Moreover, they are perfect for broad washes.
- Liner Brush: Perfect for fine details, thin lines, and lettering. Often very long and thin. In fact, they are indispensable for delicate work.
- Angle Brush: Great for creating sharp edges, sweeping curves, and blending in tight spaces. Similarly, they excel at creating petals and leaves.
Choose synthetic brushes as they hold their shape well with acrylic paints and are easy to clean. Quality brushes make a significant difference in how easily you can execute different decorative painting techniques. For more guidance on selecting your tools, you might find our article on The Essential Brush Kit for Folk Art Home Decor Projects helpful.
Deconstructing Key Basic Brush Strokes
Let’s break down some of the most common and versatile strokes you’ll use. Practicing these individually will build your confidence and skill. Therefore, dedicate time to each one before combining them.
The Line Stroke
This is the most fundamental stroke. Load your liner or round brush with paint, ensuring a consistent amount. Start with light pressure, gradually increasing it as you move, then lighten again towards the end. Practice varying line thickness by adjusting pressure. Aim for smooth, consistent lines, both straight and curved. For instance, try drawing a series of parallel lines. Achieving control over your line strokes is paramount for any detailed work.
The Comma Stroke
Often used for petals, leaves, and decorative accents, the comma stroke is created with a round brush. Begin with the tip of the brush, press down to create the widest part of the comma, then lift and twist the brush as you pull, ending with a fine point. Think of it as a small, controlled tear-drop shape. Consistent pressure and a smooth lift are key to graceful comma strokes. Furthermore, this stroke is a building block for many floral designs. You will see it frequently in folk art patterns.
The S-Stroke (or Reverse S-Stroke)
This elegant stroke adds fluidity to leaves, scrolls, and flourishes. Using a round or liner brush, start with light pressure, press down in the middle of the ‘S’ curve, then lift again at the end. The ‘S’ shape comes from a gentle twist of your wrist as you pull the brush. Practice both forward and reverse ‘S’ strokes to add dynamic movement to your designs. Consequently, mastering this stroke will allow for more organic shapes.
The C-Stroke (or Reverse C-Stroke)
Similar to the S-stroke but simpler, the C-stroke is a gentle curve. It’s excellent for creating simple petals, waves, or borders. Apply light pressure at the beginning, increase it through the curve, and then lighten again at the end. The key is a smooth, continuous motion. Practice both directions to achieve balance in your compositions. This stroke is a fundamental element in many decorative patterns.
The Dot Stroke
While seemingly simple, a perfectly round dot requires practice. Load your round brush with paint, then gently touch the tip straight down onto the surface. Lift straight up. Vary the size of the dot by adjusting the pressure and the amount of paint. Dots are fantastic for adding texture, outlining, or creating decorative patterns. In addition, they can be used to highlight other strokes. For example, small dots can accent the tips of leaves.
Preparing Your Palette and Surface
Before you even touch brush to canvas, proper preparation is essential. This includes organizing your workspace, preparing your paints, and conditioning your brushes. A well-prepared environment makes the process more enjoyable and efficient. Consequently, you will experience less frustration and more creative flow.
Paints and Mediums
Acrylic paints are generally recommended for beginners due to their quick drying time and easy cleanup. Squeeze a small amount of each color you plan to use onto a palette. You can use a ceramic plate, a plastic palette, or even wax paper. Furthermore, remember to keep a small container of water nearby for rinsing brushes and a paper towel for blotting them. For enhancing your paints, consider exploring Unlocking New Effects: A Guide to Acrylic Paint Mediums.
Surface Preparation
The surface you choose will also impact your brush strokes. Common surfaces for decorative painting include wood, canvas, paper, and even fabric. Ensure your surface is clean, dry, and sometimes primed. For example, wood often benefits from a coat of gesso to prevent paint absorption. Similarly, fabric may require special preparation to ensure paint adherence. If you’re keen on painting on different materials, our guide on Beyond Canvas: Creative Ideas for Painting on Fabric offers great insights.
Tips for Mastering Basic Brush Strokes Decorative Painting
Mastering these foundational techniques takes time and patience. However, with consistent practice and the right approach, you will see significant improvement. Here are some invaluable tips to help you along the way:
- Practice Regularly: Consistency is key. Even 15-20 minutes of daily practice can make a huge difference.
- Hold Your Brush Correctly: Hold it like a pencil, but relax your grip. This allows for better control and fluidity.
- Maintain Paint Consistency: Your paint should be like thin cream. Too thick, and it will drag; too thin, and it will be watery.
- Use Your Whole Arm: For smoother, longer strokes, move your whole arm, not just your wrist. This provides more control and reduces fatigue.
- Practice Pressure Control: Experiment with how much pressure you apply. This directly affects the thickness and opacity of your strokes.
- Practice on Scrap Surfaces: Don’t be afraid to experiment on paper or scrap wood before moving to your final project.
- Observe and Replicate: Look at existing folk art or decorative pieces and try to replicate the strokes you see.
- Learn from Mistakes: Every