
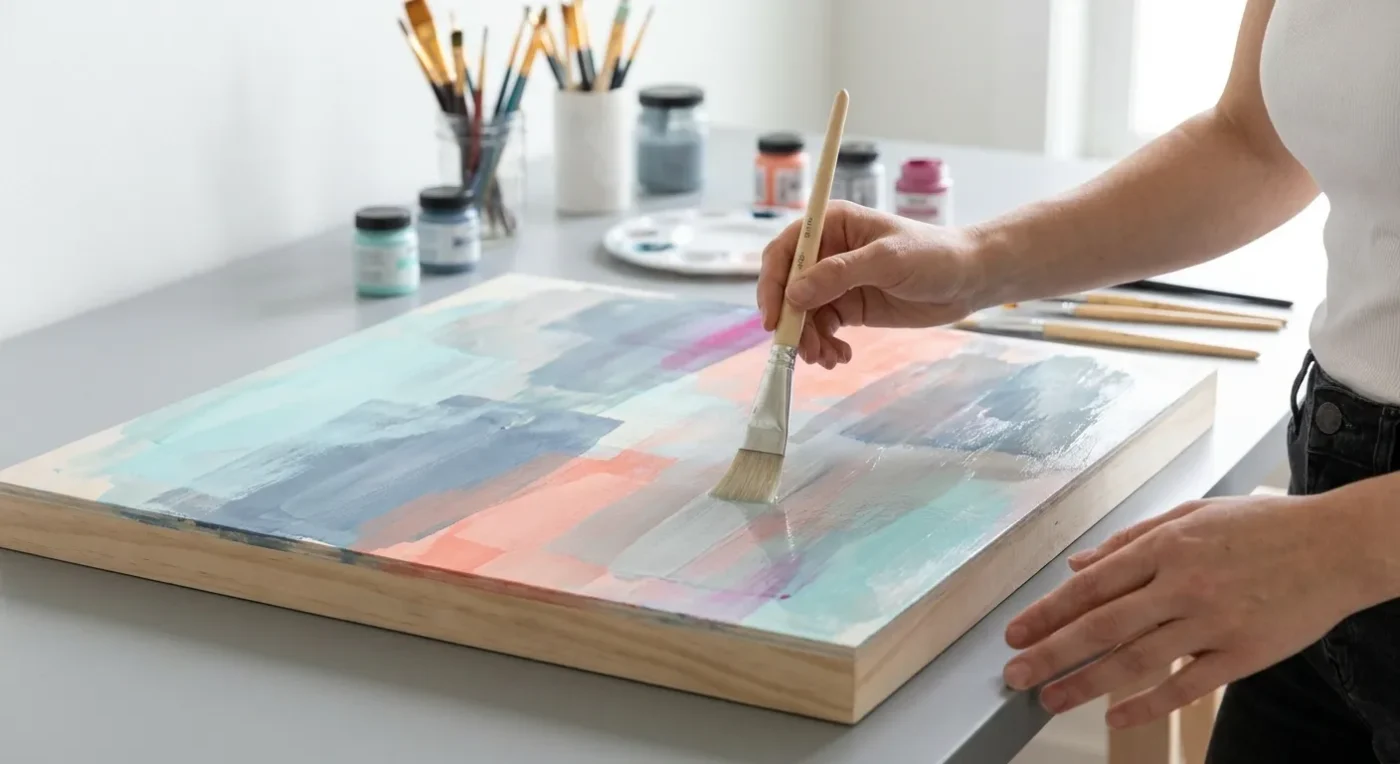

Once you’ve mastered your foundational brushstrokes, the next step in bringing your decorative painting and folk art projects to life is understanding depth. Flat, one-dimensional pieces, while charming, can truly transform with the strategic application of decorative painting layering techniques. This approach adds richness, dimension, and visual interest, making your artwork pop and inviting the viewer to look closer. With folk art experiencing a resurgence as collectors seek original, personal, and expressive pieces, mastering layering will help your work stand out in a growing market.
Why Layering Matters in Folk Art
Layering isn’t just about applying one color over another; it’s about building translucency, creating shadows, highlighting forms, and achieving a luminosity that single-layer painting often misses. In folk art, where authenticity and handmade character are prized, thoughtful layering allows you to convey texture, age, and a sense of history within your piece. It’s a key method for developing a unique and personal style, moving beyond simple outlines to create truly captivating designs.
Core Layering Techniques for Hobbyists
Let’s explore some accessible layering techniques that you can incorporate into your next project. Each method offers a distinct way to build complexity and visual appeal.
1. Wet-on-Dry Layering (Opaque)
This is perhaps the most straightforward layering method. You apply a new layer of paint over a previous, completely dry layer. This is excellent for adding details, highlights, or creating distinct color blocks.
- Process: Ensure your first layer of paint is fully dry to the touch. Load your brush with a new color and apply it directly over the dried area. You can use this to add patterns, define edges, or introduce contrasting elements.
- Tip: This technique is ideal for adding crisp details or solid colors without muddying the underlying layers. It’s fantastic for creating depth through clear separation of elements.
2. Dry Brushing
Dry brushing is a fantastic way to add texture, subtle shading, or a weathered look. It’s about applying a very small amount of paint with a nearly dry brush, allowing the texture of the surface (or previous layers) to show through.
- Process: Load your brush with a small amount of paint, then wipe almost all of it off on a paper towel until the brush feels quite dry. Gently drag the brush across the raised areas or edges of your design. The paint will catch on the texture, creating a soft, broken effect.
- Tip: This technique is perfect for giving surfaces a rustic, aged appearance, or for adding highlights to textured elements like leaves or wood grain. Earth tones and natural palettes, which are highly prevalent in 2026, work beautifully with dry brushing to create authentic, organic textures.
3. Glazing (Translucent Layers)
Glazing involves applying thin, translucent layers of paint or a paint-and-medium mixture over dried previous layers. This method allows underlying colors to show through, creating luminous effects and subtle color shifts. It’s especially useful for achieving soft shadows and rich, deep tones.
- Process: Mix a small amount of paint with a glazing medium or water to achieve a translucent consistency. Apply this thin mixture over a dry painted area. You can build up several glazes to intensify color or create gradual transitions.
- Tip: Glazing is excellent for creating a sense of depth and atmosphere. It’s also perfect for tinting areas without completely covering the details beneath. For instance, you might use a warm brown glaze to age a painted wooden surface.
4. Washes
Similar to glazing but often thinner and applied more broadly, washes use very diluted paint to tint a surface or create a soft, transparent layer of color. This technique is often used in backgrounds or to unify different elements within a composition.
- Process: Dilute your paint significantly with water, creating a consistency similar to watercolor. Apply this watery mixture over your dried base coat. The wash will settle into crevices and softly tint the surface.
- Tip: Washes are great for adding a hint of color to large areas or for creating subtle shadows. They can also be used to soften harsh lines or blend elements together seamlessly.
5. Scumbling
Scumbling is a technique where a thin, opaque or semi-opaque layer of lighter paint is lightly scrubbed over a darker, dry underpainting. This creates a soft, broken effect, allowing glimpses of the underlying color to show through, adding texture and luminosity.
- Process: Load a stiff brush with a small amount of paint, similar to dry brushing, but the paint can be slightly less dry. Using a circular or scrubbing motion, lightly apply the paint over the dry base layer.
- Tip: Scumbling is excellent for creating cloudy skies, textured foliage, or soft highlights on rough surfaces. It adds a delicate, ethereal quality to your work.
Building Visual Interest with Layering
Understanding these different decorative painting layering techniques allows you to approach your projects with greater confidence. Consider how each technique can contribute to the overall narrative and visual appeal of your piece. For example, you might start with a solid base coat, add details with wet-on-dry layering, then introduce texture with dry brushing, and finally unify elements with a subtle glaze.
Practice is key! Experiment with different paint consistencies and brush types. Try these methods on scrap surfaces before applying them to your main project. You’ll quickly discover which techniques resonate most with your personal style and the effects you wish to achieve. Furthermore, combining these methods can lead to truly unique and expressive artwork.
Choosing the Right Paints and Mediums for Layering
The success of your layered effects often depends on the materials you use. Acrylic paints are highly versatile for layering because they dry relatively quickly, allowing you to apply subsequent layers without long waiting times. Their opaque and translucent qualities can be manipulated with various mediums.
- Acrylics: Fast-drying, water-soluble, and available in a vast array of colors. They are ideal for all the layering methods discussed.
- Glazing Mediums: These are essential for creating translucent glazes. They extend drying time and increase transparency without losing color intensity.
- Flow Improvers: Useful for washes, these mediums help paint flow more smoothly and reduce brushstrokes.
- Retarders: If you need more open time for blending or working wet-into-wet (though less common for dry layering), a retarder can be beneficial.
Always read the labels on your paints and mediums to understand their specific properties and recommended uses. High-quality artist-grade paints often have better pigment concentration, which can enhance the vibrancy and depth of your layered colors.
Common Challenges and Solutions in Layering
Even experienced artists encounter hurdles when building up paint layers. Here are a few common issues and how to address them:
- Muddy Colors: This usually happens when wet paint is applied over wet paint, or when too many opaque layers are built up without allowing proper drying. Solution: Ensure each layer is completely dry before applying the next, especially with opaque methods. Use translucent glazes to build color without opacity.
- Lack of Depth: If your layers still look flat, you might not be varying your techniques enough or using enough contrast. Solution: Incorporate a mix of transparent and opaque layers. Use darker tones for shadows and lighter tones for highlights. Consider the natural light source in your composition.
- Too Much Texture: Sometimes dry brushing can become too heavy. Solution: Practice wiping more paint off your brush. Use a lighter touch and build up texture gradually. You can always add more, but it’s harder to remove.
- Visible Brushstrokes (when not desired): For smooth finishes, unwanted brushstrokes can be distracting. Solution: Use flow improvers or glazing mediums to thin your paint for smoother application. Work with softer brushes and apply paint gently.
Remember, every challenge is an opportunity to learn and refine your approach. Don’t be afraid to experiment and even make
Related reading: