

After spending countless hours meticulously bringing a decorative art piece to life, the last thing any artist wants is for it to fade, chip, or gather dust and grime. Learning how to seal decorative art correctly is a crucial step in ensuring your creations stand the test of time, protecting them from environmental damage and everyday wear. This comprehensive guide will walk you through the essential steps and considerations for effectively sealing your artwork, ensuring its beauty endures for years to come.
The act of finishing an artwork is often overlooked, yet it is just as vital as the initial brushstrokes. A properly sealed piece not only gains physical protection but also often achieves a more unified and professional appearance. Therefore, understanding the nuances of different sealers and their application methods is paramount for any decorative artist.
Understanding the Importance of Sealing Your Artwork
Sealing your decorative artwork offers multiple benefits. Firstly, it creates a protective barrier against external elements such as dust, dirt, moisture, and UV rays. Over time, exposure to these elements can cause colors to fade, surfaces to degrade, and details to become obscured. Secondly, a good sealer can prevent chipping, scratching, and general wear, especially for pieces that might be handled or displayed in high-traffic areas. Furthermore, the right finish can enhance the vibrancy of colors and add a desirable sheen, elevating the overall aesthetic appeal of your work. For example, a glossy finish can make colors pop, while a matte finish can give a more subdued, elegant look. Consequently, selecting the appropriate sealer is a decision that significantly impacts both the durability and visual impact of your finished project.
Many folk art pieces, often created on diverse surfaces like wood, ceramics, or metal, are particularly susceptible to wear and tear. Therefore, applying a protective layer is not merely an option but a necessity for their long-term preservation. This step ensures that the time and effort invested in crafting these unique pieces are not in vain, allowing them to be cherished for generations.
Choosing the Right Sealer for Your Project
The type of sealer you choose largely depends on your paint medium and the surface you’ve painted on. Common sealers include varnishes, lacquers, and clear coats, available in various finishes like matte, satin, or gloss. Acrylic paints often benefit from acrylic-based varnishes, which are flexible and non-yellowing. These are ideal because they move with the paint as it expands and contracts, preventing cracking. Oil paints, conversely, require specific varnishes designed to be applied only after the paint is fully cured, which can take several months, sometimes even up to a year, depending on the thickness of the paint layers. Applying an oil varnish too soon can trap moisture and cause damage. For folk art painted on wood, ceramics, or metal, a durable clear coat might be more appropriate, offering robust protection against physical damage.
Always read the product label carefully to ensure compatibility with your specific paint and substrate. This precaution prevents adverse reactions, such as clouding or peeling. Additionally, consider the desired final aesthetic – a glossy finish will deepen colors and add a vibrant sheen, while a matte finish can soften them and reduce glare. Satin finishes offer a middle ground, providing a subtle luster without being overly reflective. Moreover, some sealers offer UV protection, which is particularly important for artworks displayed in sunny locations. For a deeper understanding of materials, our Glossary of Terms can be a helpful resource.
Exploring Different Sealer Types
- Varnishes: These are popular for both acrylic and oil paintings. Acrylic varnishes are generally water-based, quick-drying, and can be removed with appropriate solvents for cleaning or re-varnishing. Oil varnishes, often resin-based, provide a deep, lustrous finish but require careful application and a fully cured painting.
- Lacquers: Known for their hard, durable finish, lacquers are often used on wood and metal. They dry quickly to a high-gloss finish, although matte and satin options are also available. Lacquers provide excellent protection against scratches and moisture.
- Clear Coats: A broad category including various spray-on or brush-on protective layers. These are versatile and can be used on a multitude of surfaces, from painted ceramics to decorative furniture. They come in many formulations, so checking for compatibility with your specific project is crucial.
- Resins: Epoxy resins provide an extremely durable, high-gloss, glass-like finish. They are excellent for creating a thick, protective layer on items like coasters, trays, or decorative tabletops. However, they require precise mixing and careful application.
Each type has its unique characteristics, making the choice dependent on the specific needs of your artwork and its intended display environment. For example, if you are painting a decorative plate that will be handled frequently, a highly durable clear coat or resin would be more suitable than a traditional art varnish.
Preparing Your Artwork to Seal Decorative Art
Before you begin to seal decorative art, meticulous preparation is essential for a flawless finish. Firstly, ensure your artwork is completely dry. This is critical; applying a sealer over wet or even slightly damp paint can trap moisture, leading to clouding, peeling, or a compromised finish. The drying time varies significantly depending on the paint type and thickness. Acrylics typically dry to the touch within hours, but a full cure can take a few days. Oil paints, as mentioned, can take months. Secondly, the surface must be impeccably clean and free of dust, lint, pet hair, or any other debris. Use a soft, dry brush or a lint-free cloth to gently wipe down the surface. For textured surfaces, a can of compressed air can be effective in dislodging particles from crevices. Any speck of dust trapped under the sealer will be permanently visible and can detract from your masterpiece. Therefore, take your time with this preparatory stage.
Working in a clean, dust-free environment is also highly recommended. Consider sealing your artwork in a space where air circulation is good but airborne particles are minimized. This proactive approach greatly reduces the chances of imperfections in your final protective layer. Moreover, ensure that the temperature and humidity in your workspace are within the recommended range for your chosen sealer, as extreme conditions can affect drying times and finish quality. You can find more practical advice on various projects on our Blog.
Step-by-Step Application to Seal Decorative Art
Once your artwork is fully prepared, you can proceed with the application process. Regardless of whether you use a spray or brush-on sealer, always work in a well-ventilated area, preferably outdoors or in a studio with open windows and a fan. Wearing a respirator mask is advisable, especially when using spray sealers, to avoid inhaling fumes. Furthermore, protect your work surface with newspaper or a drop cloth.
Applying Spray Sealers
For spray sealers, hold the can 8-12 inches (20-30 cm) from the surface of your artwork. Apply in light, even coats, moving across the piece horizontally, then vertically, in a consistent, sweeping motion. The key is to apply thin layers to prevent drips and ensure an even coating. Avoid oversaturating any single area. Instead, aim for multiple thin coats rather than one thick one. Allow each coat to dry thoroughly according to the manufacturer’s instructions before applying the next. This usually takes 15-30 minutes, but always check the product label. Typically, 2-3 thin coats are better than one thick coat, providing more robust protection and a smoother finish. A thicker single coat is prone to unevenness and potentially longer drying times. To ensure an optimal finish, consider testing the spray on a scrap piece of similar material first.
Applying Brush-On Sealers
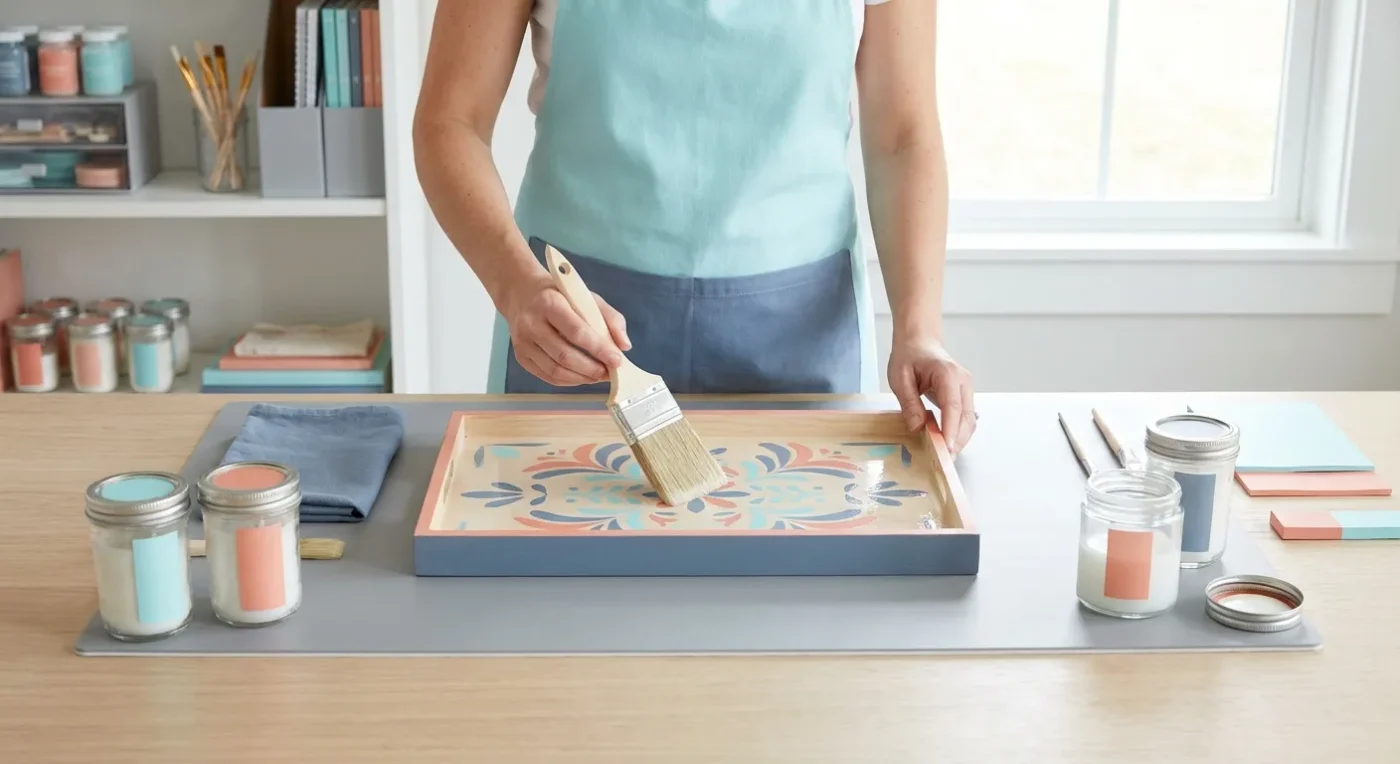
When using brush-on sealers, select a soft, clean brush that is appropriate for the size of your artwork. Synthetic brushes are often recommended for water-based sealers, while natural bristles might be better for oil-based products. Dip your brush into the sealer, removing any excess to avoid drips. Apply thin, even layers using long, smooth strokes. Work in one direction, then crosshatch lightly to ensure full coverage, before finishing with strokes in the initial direction to smooth out brush marks. Just like with spray sealers, allow each coat to dry completely before applying the next. Again, 2-3 thin coats will provide superior protection and a more professional finish compared to a single heavy coat. This method allows for greater control and is often preferred for intricate details or larger surfaces. Proper sealing will not only protect your art but also enhance its longevity and visual appeal, making your efforts truly worthwhile.
Curing and Maintenance
After applying the final coat, allow the sealer to cure fully. Curing time is different from drying time; it refers to the period during which the sealer hardens completely and reaches its maximum durability. This can range from several days to a few weeks, depending on the product. During this time, handle the artwork carefully and avoid placing anything on its surface. Once cured, your artwork is ready for display. To maintain its pristine condition, regularly dust the piece with a soft, dry cloth. For more stubborn grime, a slightly damp cloth can be used with mild soap, but always test in an inconspicuous area first. Avoid harsh chemical cleaners, as these can damage the sealed surface. Furthermore, try to keep your artwork out of direct, prolonged sunlight, even if your sealer offers UV protection, as this helps to further preserve the vibrancy of the colors.
Protecting your hard work is just as important as the creation process itself. By understanding how to choose and apply the right product to seal decorative art, you can confidently preserve your decorative art pieces for years of enjoyment. This final step is an investment in the longevity and beauty of your artistic endeavors. For further inspiration on your next project, you might consider Where to Find Folk Art Inspiration: Everyday Discoveries.
Common Mistakes to Avoid When Sealing Artwork
Even experienced artists can make mistakes when it comes to the crucial step of sealing. Being aware of these common pitfalls can help you achieve a perfect finish every time you seal decorative art. One of the most frequent errors is applying sealer too thickly. This often leads to drips, streaks, uneven drying, and a cloudy appearance. Thin, even coats are always the best approach, even if it means applying more layers. Another mistake is not allowing adequate drying time between coats. Rushing this process can result in a tacky surface, trapped moisture, or a compromised finish that peels or cracks over time. Patience is key when working with sealers.
Applying sealer in an environment that is too humid or too cold can also cause problems. High humidity can lead to a milky or cloudy finish, especially with water-based products, while cold temperatures can slow drying and affect the sealer’s ability to cure properly. Always check the manufacturer’s recommended temperature and humidity ranges. Furthermore, failing to clean the artwork thoroughly before sealing is a common oversight. Any dust or debris present on the surface will be permanently sealed beneath the protective layer, creating an unsightly blemish. Taking the extra time to ensure your piece is spotless is a small effort with a big reward. Lastly, using an incompatible sealer with your paint medium is a significant mistake. For instance, using an oil-based varnish on acrylic paint can lead to yellowing or cracking. Always verify compatibility to avoid damaging your artwork.
Advanced Tips for Sealing Specific Decorative Art Projects
While the general principles of sealing apply broadly, certain decorative art projects may benefit from specific considerations to effectively seal decorative art. For instance, if you’re working on highly textured folk art pieces, such as those with impasto effects or embedded elements, using a spray sealer might be more effective than a brush-on application. A spray can reach into all the nooks and crannies without disturbing the texture, whereas a brush might flatten or dislodge delicate details. However, ensure you apply multiple thin coats from different angles to ensure complete coverage of all surfaces.
When sealing decorative items that will experience frequent handling, like painted wooden boxes or ceramic mugs (if the paint is food-safe), consider using a more robust, durable clear coat or even an epoxy resin. These provide a harder, more resistant surface that can withstand greater wear and tear. For outdoor decorative art, such as garden ornaments or painted signs, selecting a sealer with strong UV protection and weather resistance is absolutely critical. These specialized sealers are formulated to withstand harsh environmental conditions, protecting against fading from sunlight and damage from rain or temperature fluctuations. You can research various types of UV protection sealers from reputable art supply manufacturers like Golden Artist Colors or Liquitex for professional-grade options. Always remember that the intended use and environment of your artwork should heavily influence your choice of protective finish. For unique color palettes often found in folk art, learning about Crafting Vibrant Hues: Understanding Folk Art Color Palettes can also inform your finishing choices.
Maintaining Your Sealed Artwork
Once your decorative art piece is properly sealed and cured, ongoing maintenance is minimal but important to ensure its lasting beauty. Regularly dusting your artwork with a soft, dry, lint-free cloth will prevent the accumulation of grime that can dull the finish over time. Avoid using feather dusters, which can merely move dust around or scratch delicate surfaces. For occasional deeper cleaning, if necessary, use a slightly damp cloth with plain water or a very mild, non-abrasive soap solution. Always test any cleaning method on an inconspicuous area first to ensure it doesn’t harm the finish. Gently wipe the surface and then immediately follow with a dry cloth to remove any moisture. Never use harsh chemical cleaners, abrasive sponges, or solvents, as these can strip or damage the protective layer, potentially exposing your artwork to damage. Furthermore, try to display your artwork in an environment with stable temperature and humidity. Extreme fluctuations can sometimes affect the integrity of the sealer or the artwork itself. Keeping your masterpiece out of direct sunlight, even if it has UV protection, will also significantly extend the life of its colors and prevent premature fading. By following these simple maintenance tips, you ensure that your treasured creations continue to inspire and delight for many years to come.
Conclusion
In conclusion, the decision to seal decorative art is not merely an optional step but a fundamental practice for any artist committed to preserving their creations. From selecting the appropriate sealer based on your medium and surface to mastering the application techniques and understanding long-term maintenance, each stage contributes to the longevity and visual integrity of your artwork. By carefully considering the type of paint, the substrate, and the intended display environment, you can choose the most effective protective layer. Furthermore, meticulous preparation, patient application of thin coats, and proper curing are all critical for achieving a durable, flawless finish. Ultimately, investing the time and effort to correctly protect your work ensures that your artistic vision endures, allowing your beautiful decorative pieces to be enjoyed and admired for generations. This final act of preservation truly completes the creative journey, transforming a temporary creation into a lasting legacy.
FAQ
Why is it important to protect painted artwork?
Protecting painted artwork is crucial to shield it from environmental damage like dust, dirt, moisture, and UV light, which can cause fading, chipping, or degradation over time. A protective layer also enhances durability against physical wear and tear.
What types of finishes are available for sealers?
Sealers typically come in various finishes including matte, satin, and gloss. A glossy finish often intensifies colors, while a matte finish provides a softer, non-reflective look. Satin offers a balanced, subtle sheen.
How many coats of sealer should I apply?
For most decorative art projects, applying 2-3 thin, even coats is recommended. This approach builds up robust protection and results in a smoother, more professional finish compared to a single thick coat, which can lead to drips or unevenness.
Can I seal oil paint and acrylic paint with the same product?
Generally, no. Acrylic paints benefit from acrylic-based varnishes that are flexible and non-yellowing. Oil paints require specific varnishes applied only after the paint is fully cured, which can take several months. Always check product compatibility.
What should I do if my sealed artwork becomes dusty or dirty?
For regular dusting, use a soft, dry, lint-free cloth. For more stubborn grime, a slightly damp cloth with plain water or a very mild, non-abrasive soap solution can be used, but always test on an inconspicuous area first. Avoid harsh chemical cleaners.
How long does it take for a sealer to fully cure?
Curing time, which is when the sealer reaches its maximum hardness and durability, varies greatly by product. It can range from several days to a few weeks. Always refer to the manufacturer’s instructions for specific curing times to ensure optimal protection.