
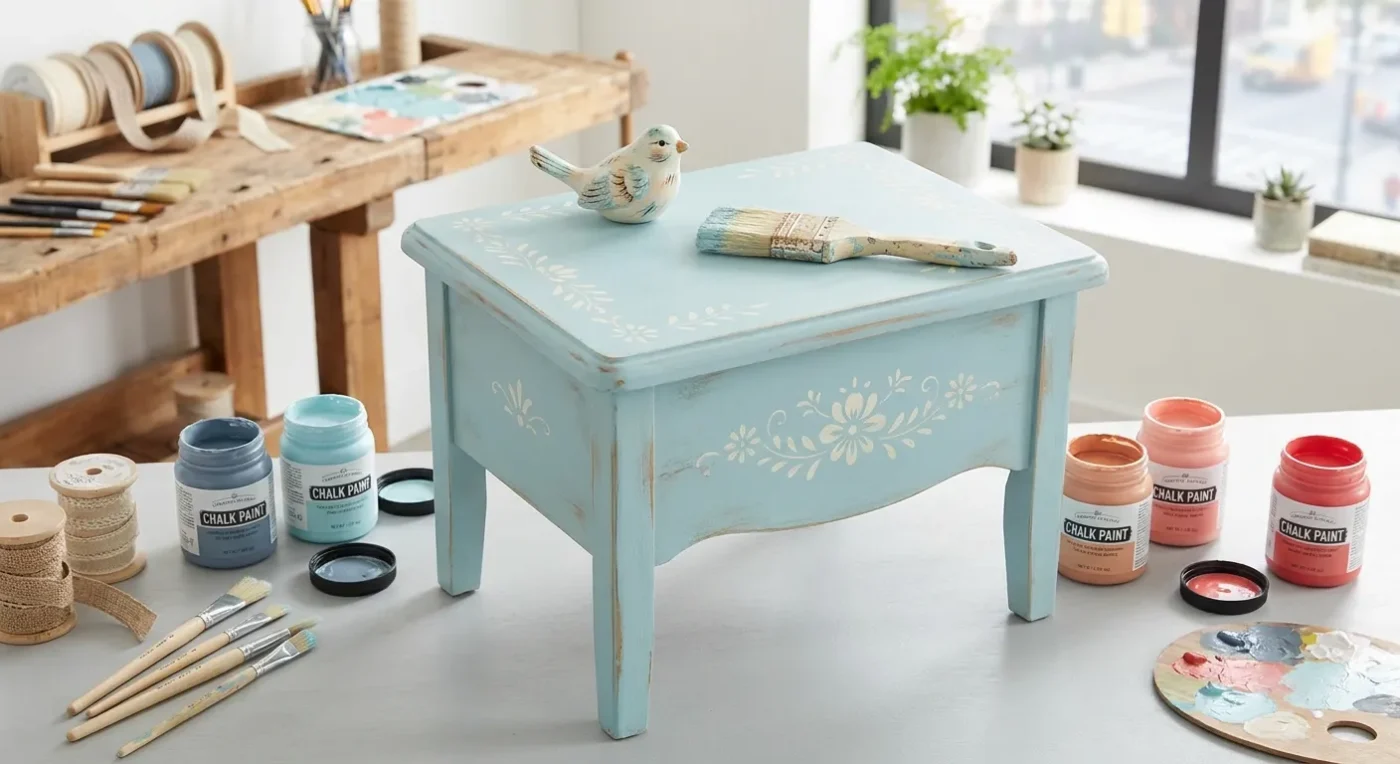

Distressed Furniture Painting: A Journey from Worn to Wonderful
There’s a unique charm in a piece of furniture that tells a story, bearing the marks of time and a gentle patina that only age can bestow. For decorative painters and DIY crafters, achieving this coveted look is not only satisfying but also a fantastic way to upcycle and personalize everyday objects. Mastering distressed furniture painting allows you to give new life to old pieces, infusing them with character, history, and a touch of folk art flair.
This article will guide you through the process of transforming a simple, often overlooked piece of furniture into a cherished item with a beautiful, aged aesthetic. We’ll cover how to combine techniques like stenciling, distressing, and antiquing to create a cohesive and captivating finish, empowering you to tackle your next furniture makeover with confidence.
Why Embrace the Distressed Look?
The appeal of distressed furniture lies in its ability to add warmth, personality, and a sense of history to any space. It’s a versatile style that complements various decor themes, from rustic farmhouse to shabby chic, and even modern eclectic. Beyond aesthetics, it’s an incredibly forgiving technique – minor imperfections become part of its charm, making it perfect for both beginners and experienced artists looking to experiment.
Upcycling old furniture also aligns with sustainable living practices, reducing waste and giving items a second chance. It’s a wonderful way to express your creativity on a larger canvas than traditional painting projects, creating functional art for your home.
Materials for Your Distressed Masterpiece
Before you begin your distressed furniture painting project, gather your essentials:
- Furniture Piece: A small wooden stool, side table, or chest is ideal for a first project.
- Chalk-Style Paint: Excellent for distressing, as it adheres well and sands easily. Choose a base color (e.g., soft sage green) and a contrasting top color (e.g., creamy white or robin’s egg blue).
- Paint Brushes: A quality synthetic brush for paint application.
- Sanding Blocks/Paper: Medium and fine-grit for distressing.
- Wax or Clear Coat: For sealing and protecting your finished piece.
- Antiquing Glaze (Optional): To add an aged patina.
- Folk Art Stencils: To add decorative motifs.
- Painter’s Tape: For securing stencils.
- Clean Rags: For wiping and buffing.
Project Walk-Through: A Distressed Stenciled Table
Let’s transform a plain wooden side table using a combination of techniques.
1. Preparation is Key: Start by cleaning your furniture piece thoroughly. Remove any dust, grime, or loose paint. Lightly sand any very rough spots, but don’t worry about perfect smoothness – imperfections add to the distressed charm. If your piece has a glossy finish, a light scuff sand will help the paint adhere better.
2. Base Coat Application: Apply your chosen base color (e.g., soft sage green) to the entire piece. This color will peek through the distressed areas later, so choose something that complements your top coat. Apply two thin coats for good coverage, allowing each coat to dry completely. This step is crucial for achieving a beautiful antique furniture finish.
3. Top Coat Application: Once the base coat is dry, apply your contrasting top color (e.g., robin’s egg blue). Again, two thin coats usually work best. Let this layer dry completely. This creates the primary color of your shabby chic painting.
4. Stenciling Your Folk Art Design: Carefully position your folk art stencil on the desired areas of your table. Use painter’s tape to secure it firmly. Load a small stencil brush with a third complementary color (e.g., creamy white) and dab off excess paint. Apply the paint in light, dabbing motions, ensuring clean edges. Remove the stencil immediately after painting each section to prevent bleeding. Allow the stenciled designs to dry.
5. The Art of Distressing: This is where the magic happens. Using a medium-grit sanding block, gently sand the edges, corners, and any areas that would naturally show wear and tear over time. Think about where hands would frequently touch or where bumps and scrapes would occur. As you sand, the top coat will rub away, revealing the base coat underneath. Continue until you achieve your desired level of distressing. For a softer look, finish with a fine-grit sanding block. This technique is central to aged paint techniques.
6. Applying an Antiquing Glaze (Optional but Recommended): For an even more authentic aged look, apply an antiquing glaze. Brush a thin layer of glaze over the entire piece. Immediately wipe off the excess with a clean, lint-free rag, allowing the glaze to settle into crevices and around stenciled designs, enhancing the distressed areas and adding a warm, subtle patina. This is excellent for achieving a vintage look painting.
7. Sealing and Protection: Once all layers are dry, apply a clear wax or topcoat to protect your finish. If using wax, apply a thin layer with a wax brush or cloth, let it sit for a few minutes, then buff to a soft sheen with a clean rag. For a more durable finish, especially on high-traffic areas, use a water-based polycrylic topcoat. This final step ensures your upcycling furniture art lasts for years to come.
Tips for Success
- Start Small: Begin with a less intimidating piece to practice your techniques.
- Less is More: When distressing, start gently and add more sanding as needed. You can always remove more paint, but it’s harder to put it back.
- Experiment with Colors: Don’t be afraid to try unexpected color combinations for your base and top coats.
- Embrace Imperfection: The beauty of distressed furniture is its imperfect, hand-crafted nature. Let go of the need for perfection.
By following these steps, you’ll not only create a beautiful and unique piece of furniture but also gain valuable skills in combining advanced painting methods. Enjoy the process of transforming the old into something truly special and uniquely yours!