
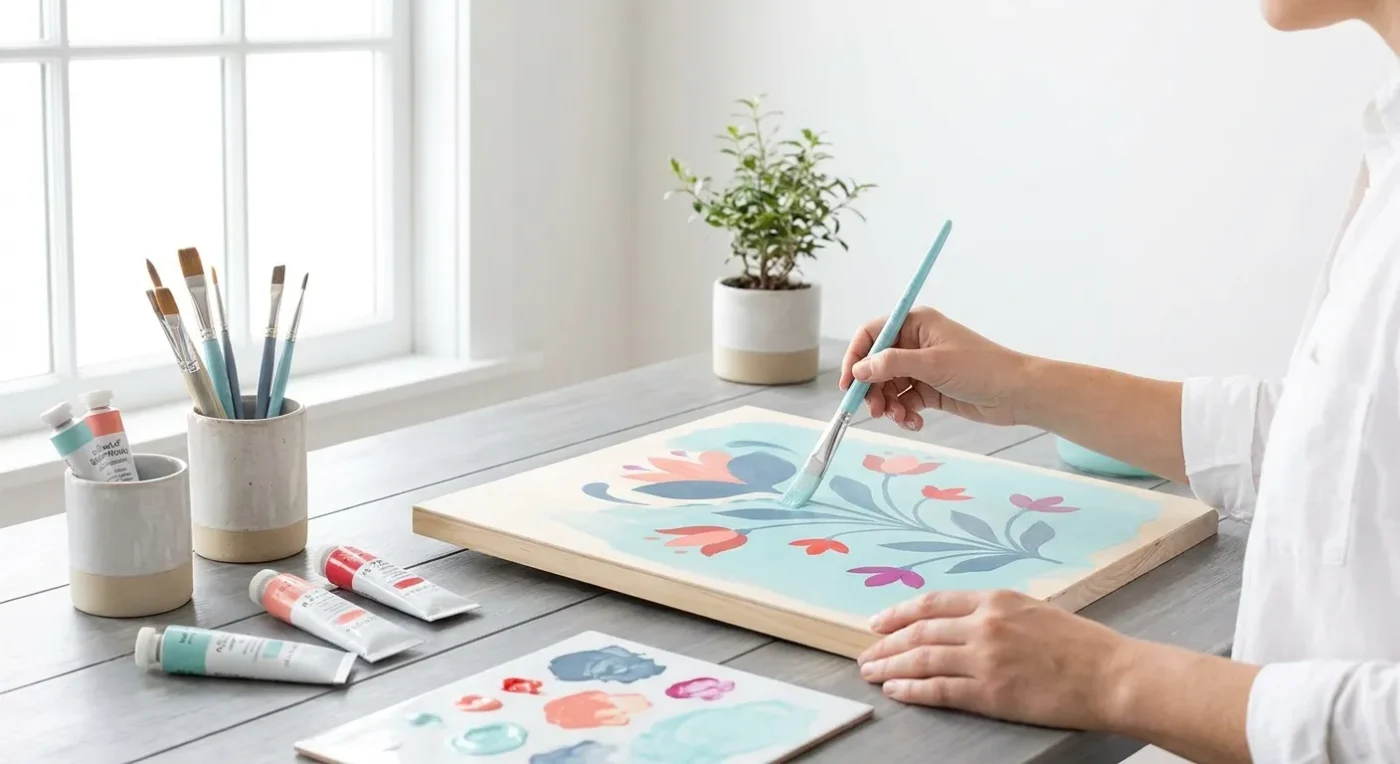

Layering is a fundamental technique that transforms flat, two-dimensional surfaces into vibrant, engaging works of art. For decorative painters and folk art enthusiasts, mastering folk art layering techniques is essential for adding richness, depth, and visual interest to your creations. It’s about building up your painting in stages, allowing each layer to contribute to the overall effect without overwhelming the previous one. This approach not only enhances the visual complexity of your work but also allows for a more nuanced and expressive outcome, making your art truly come alive.
Understanding the Basics of Folk Art Layering
At its core, layering begins with a solid foundation. First, start with a clean, prepared surface. Then, apply your base coats thinly and evenly. The key is to ensure each layer is completely dry before applying the next. Rushing this step can lead to muddy colors or peeling paint. Think of your base coat as the canvas for your story; it sets the stage. For folk art, this often involves solid color blocks or simple washes that define the main shapes and areas of your design. Using acrylic paints, which dry relatively quickly, makes this process efficient, allowing you to build up your design systematically.
Proper surface preparation is crucial for successful layering. Clean your surface thoroughly, whether it’s wood, canvas, or another material. Sanding lightly, if appropriate, can help paint adhere better. Next, apply a primer if needed, especially on porous surfaces. This ensures an even absorption of paint. Moreover, a well-primed surface provides a smooth, consistent base, which is vital for the delicate application of subsequent paint layers. Consequently, your initial efforts will pay off with a more durable and visually appealing final piece.
Choosing Your Paints and Brushes for Effective Layering
Selecting the right materials significantly impacts your ability to create beautiful layers. Acrylic paints are often favored for folk art due to their quick drying time and versatility. Their water-soluble nature allows for easy thinning, which is perfect for washes and glazes. Furthermore, a wide range of opacities is available, from opaque to translucent. This allows artists to choose paints that best suit the desired effect for each layer.
Similarly, brush choice is important. For base coats, a flat or filbert brush works well for smooth, even coverage. Smaller, round brushes are ideal for detail work and fine lines in later layers. Additionally, a soft-bristled brush is excellent for applying washes, while a stiffer brush is better for dry brushing or scumbling techniques. Having a variety of brushes on hand will give you the flexibility needed to execute various paint layering methods effectively.
Advanced Layering for Depth and Dimension
Once your foundational layers are in place, you can begin to introduce more advanced folk art layering techniques to create genuine depth. Consider using translucent washes or glazes. A wash involves thinning your paint significantly with water or a glazing medium, allowing it to create a sheer layer of color that subtly alters the underlying tones without completely obscuring them. Glazes work similarly but often use a specific medium for enhanced transparency and flow. These techniques are perfect for adding shadows, creating subtle color transitions, or even simulating atmospheric effects. For instance, a thin wash of deep blue over a landscape element can suggest distance, while a warm glaze can bring forward a focal point. Experiment with multiple thin layers rather than one thick one; this is where the magic of luminosity and depth truly emerges.
Creating Visual Interest with Washes and Glazes
Washes and glazes are indispensable for adding subtle nuances to your folk art. To create a wash, mix a small amount of acrylic paint with a larger proportion of water or a flow improver. Apply this mixture evenly over an area. The underlying colors will show through, creating a soft, ethereal effect. Glazes, on the other hand, often use a dedicated glazing medium, which extends the drying time slightly and enhances transparency without sacrificing color intensity. For example, a warm amber glaze over a sunlit area can make it glow, while a cool blue wash can deepen shadows and create a sense of recession. These methods are particularly effective when you want to shift the mood or add atmosphere to your painting without completely repainting an area. You can learn more about how colors interact in different art styles by exploring resources like Artists Network’s guide to color theory.
Building up these translucent layers gradually is key. Apply one thin layer, let it dry completely, and then assess its effect. If more intensity is desired, apply another thin layer. This controlled approach prevents overworking and allows you to build richness incrementally. Furthermore, this method is forgiving, as you can often adjust the color or tone with subsequent glazes. Consequently, your painting gains a luminous quality, as light passes through the transparent layers and reflects off the underlying colors.
Adding Texture Through Layering
Adding texture through layering is another powerful way to enhance dimension. Once your base and glazes are dry, try dry brushing. Load a small amount of paint onto a dry brush, then wipe most of it off on a paper towel. Lightly drag the brush across raised areas or textured surfaces of your painting. This technique highlights texture and adds a weathered or aged look, perfect for rustic folk art. Similarly, scumbling—a light, scrubbing motion with a stiff, dry brush—can add soft, broken color and further build tactile interest. By combining these methods, you can transform flat imagery into a captivating scene with tangible depth. These techniques are integral to developing authentic folk art aesthetics.
Incorporating Dry Brushing and Scumbling
Dry brushing is a fantastic technique for creating a worn or aged appearance, which is common in many folk art pieces. For this technique, pick up a tiny amount of paint on your brush. Then, blot almost all of it off on a paper towel until the brush feels nearly dry. Gently drag the bristles across the surface of your painting. The paint will catch on the highest points of the texture, leaving a broken, feathery line. This is excellent for simulating wood grain, stone, or fabric textures. Similarly, scumbling involves a similar dry brush but uses a light, circular, or scrubbing motion. This creates a soft, hazy layer of color that allows the underlying paint to show through, adding a delicate texture and depth. For instance, scumbling a lighter color over a darker area can suggest soft light or atmospheric haze. These paint layering techniques are essential for adding character.
These textured approaches work wonderfully for highlighting details on objects like baskets, wooden signs, or old furniture depicted in your folk art. Moreover, they can be used to create subtle shifts in color and tone without a harsh line. Consider practicing these methods on a scrap piece of canvas or wood before applying them to your main project. This practice will help you develop a light touch. You can also find inspiration for color palettes that complement these textures on our page about Crafting Vibrant Hues: Understanding Folk Art Color Palettes.
Building Up Detail with Successive Layers
As your painting progresses, each layer builds upon the last, adding more specific details and refining the overall image. This sequential application of paint allows for precise control over your design. Initially, you establish the large shapes and general colors. Then, you introduce mid-tones and shadows using washes and glazes. Finally, you add fine details and highlights. This methodical approach ensures that your painting remains cohesive and well-structured. Consequently, the finished piece will possess a rich, multi-dimensional quality.
Adding Highlights and Shadows
Highlights and shadows are critical for creating a sense of form and volume within your folk art. Once the main colors and textures are established, carefully apply lighter paints to areas where light would naturally strike. Use a fine-tipped brush for crisp highlights on edges or focal points. Conversely, deepen shadows with darker, often glazed, colors. This contrast between light and dark is what truly makes objects appear three-dimensional. For example, a tiny dot of pure white on a painted eye can bring it to life, while a dark glaze under a leaf can make it appear to lift off the surface. These finishing touches are vital for achieving realistic depth.
The strategic placement of highlights and shadows also helps to guide the viewer’s eye through the painting. By emphasizing certain elements, you can create a clear focal point. Conversely, softening other areas can make them recede. This deliberate manipulation of light and dark contributes significantly to the narrative and visual flow of your folk art. Remember that subtle variations often yield the most impactful results. Therefore, observe how light interacts with objects in real life to better inform your painting decisions. Moreover, practice these techniques to refine your hand and eye coordination.
Achieving Luminous Effects with Layering
One of the most rewarding aspects of mastering folk art layering techniques is the ability to create luminous effects. When thin, translucent layers of paint are applied over one another, light can penetrate and reflect off the underlying colors. This creates a glow that cannot be achieved with opaque, single-layer applications. This luminosity adds a vibrant, living quality to your folk art, making colors appear richer and more complex. It’s a hallmark of skilled painting.
The Power of Transparency in Folk Art
Transparency is a key element in achieving luminosity. By using thinned paints or glazing mediums, you allow previous layers to subtly show through. This interaction of colors creates new, optical mixtures directly on the canvas. For example, a thin yellow glaze over a blue area will create a vibrant green, but with a depth that a pre-mixed green might lack. This technique breathes life into your colors, making them more dynamic and engaging. Furthermore, it allows for greater subtlety in color transitions. This is especially useful in depicting natural elements. More insights into enriching your artistic journey can be found on our Blog.
Building these transparent layers slowly and patiently is essential. Each layer contributes to the overall effect without completely dominating. This method helps prevent your colors from becoming muddy. Instead, they retain their clarity and vibrancy. The light literally shines through the layers, creating an inner glow within your painting. This is particularly effective for depicting elements like water, glass, or atmospheric conditions. Consequently, your folk art will gain a profound sense of depth and realism, captivating your audience.
Common Challenges and Solutions in Layering
While painting with layers offers immense creative potential, artists often encounter challenges. Understanding these common issues and their solutions can save you frustration and improve your results. Patience and attention to detail are your best allies when working with multiple paint layers. Knowing how to troubleshoot will enable you to refine your folk art layering techniques effectively.
Avoiding Muddy Colors and Lifting Paint
One frequent problem is colors becoming muddy. This usually happens when wet paint is applied over another wet or partially dry layer. The colors mix on the surface, losing their individual clarity. To avoid this, always ensure each layer is completely dry before applying the next. A hairdryer on a low, cool setting can speed up drying time. Additionally, using appropriate mediums, like flow improvers or glazing mediums, can help maintain color integrity and prevent over-mixing. Another issue is lifting paint, where a new layer disturbs the previous one. This often occurs when scrubbing too hard or using too much water with subsequent layers. Again, letting layers dry fully and using a light touch are critical. For more technical terms related to painting, refer to our Glossary of Terms.
Sometimes, the problem lies in the paint consistency. If your paint is too thick, it can create an uneven surface that is hard to layer over. If it’s too thin, it might not provide enough coverage or could reactivate the layer underneath. Experiment with different ratios of paint to medium or water to find the ideal consistency for each type of layer you’re applying. This balance is crucial for smooth transitions and vibrant results. Moreover, cleaning your brushes thoroughly between colors prevents accidental mixing. This attention to detail will significantly enhance your layering success.
Mastering the Art of Folk Art Layering Techniques
Mastering layering is a journey of patience and practice. Each successive layer adds a new dimension, enriching your folk art with visual complexity and narrative power. Embrace the process, experiment with different mediums, and observe how colors interact. Remember that every stroke contributes to the overall story your painting tells. By consistently applying these folk art layering techniques, you will develop a confident hand and an eye for creating truly captivating works of art. Your paintings will no longer be flat; instead, they will invite viewers to explore their intricate depths and vibrant narratives. Keep practicing, and your skills will undoubtedly grow.
Practice and Experimentation
The best way to master layering is through consistent practice. Start with simple projects to get a feel for how different paints and mediums behave. Experiment with various brushstrokes and see how they contribute to texture and depth. Don’t be afraid to try new combinations of colors or to push the boundaries of traditional folk art styles. Each painting is an opportunity to learn and refine your skills. Keep a sketchbook or journal to record your observations and techniques. This documentation will become a valuable resource as you progress.
Furthermore, studying the works of accomplished folk artists can provide immense inspiration. Observe how they achieve depth and texture in their pieces. Try to emulate certain effects to understand the process. Then, adapt these learnings to develop your unique style. Remember, every artist’s journey is unique. The more you experiment, the more comfortable and intuitive your application of these layering methods will become. This dedication will lead to truly masterful and expressive folk art.
Conclusion
In conclusion, mastering folk art layering techniques is a cornerstone for creating artwork that truly stands out. From the initial base coats to the final delicate highlights, each layer plays a vital role in building depth, texture, and luminosity. By patiently applying washes, glazes, dry brushing, and scumbling, artists can transform simple designs into rich, engaging narratives. These techniques not only enhance the visual appeal of your paintings but also allow for a greater degree of artistic expression. Continue to practice, experiment, and observe, and you will undoubtedly elevate your folk art to new, captivating levels.
FAQ Section
What is the primary benefit of using paint layering in folk art?
The primary benefit of using paint layering is to add significant depth, dimension, and visual interest to your artwork. It allows for a richer interplay of colors and textures, making the painting appear more complex and engaging than a single-layer application.
How do I prevent colors from becoming muddy when layering?
To prevent muddy colors, ensure that each paint layer is completely dry before applying the next. Using thin coats and appropriate glazing mediums also helps to maintain color clarity. Avoid overworking wet paint.
Can I use oil paints for layered folk art?
While acrylics are often preferred for their quick drying time, oil paints can certainly be used for layered folk art. However, oil paints require much longer drying times between layers, which demands more patience and planning.
What are some effective methods for adding texture through layers?
Effective methods for adding texture through layers include dry brushing, where a nearly dry brush lightly drags paint over surfaces, and scumbling, which involves a light, scrubbing motion with a stiff brush to create soft, broken color and tactile interest.
How do washes and glazes differ in creating depth?
Washes and glazes both use thinned paint for transparency. Washes often use more water for a sheer effect, subtly altering underlying tones. Glazes typically use a specific medium for enhanced transparency and flow, often with slightly more pigment, making them ideal for adding rich, transparent color shifts or shadows.