
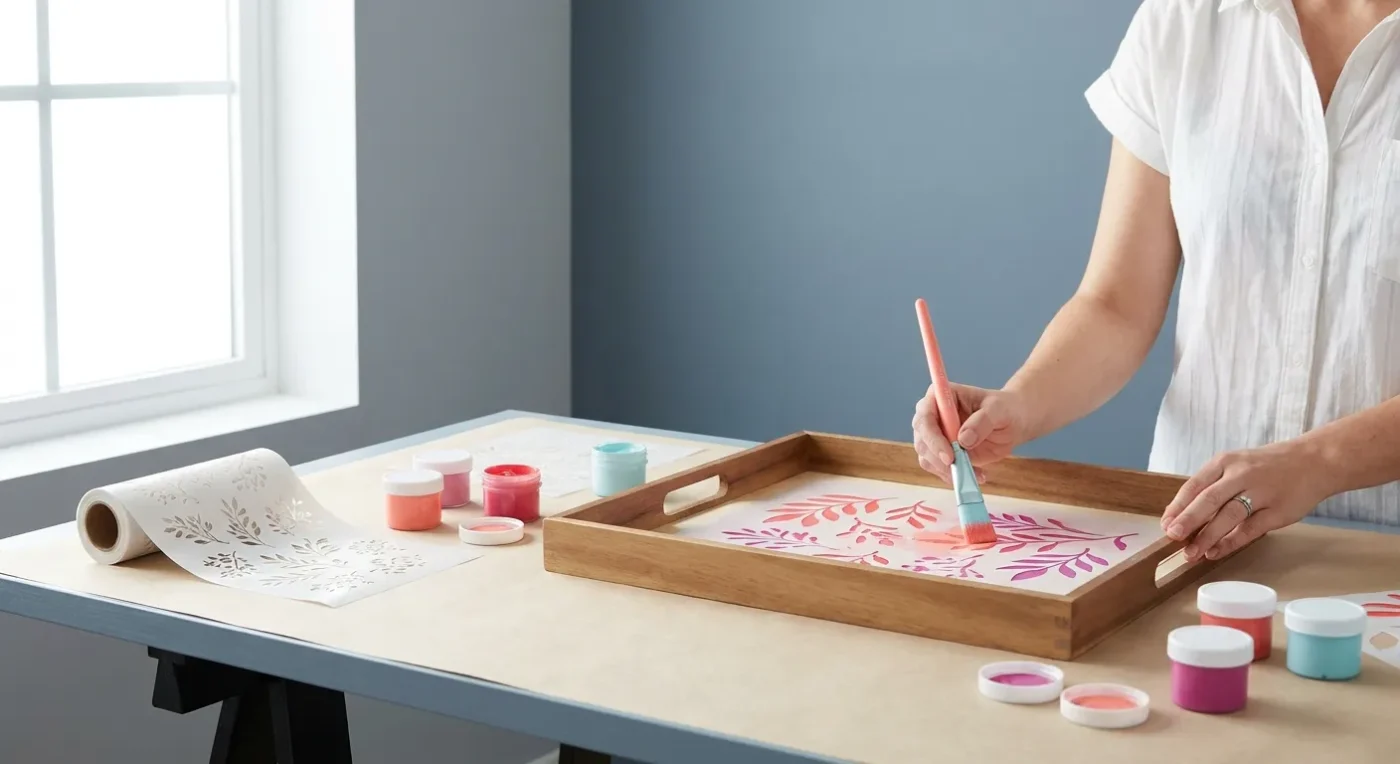

Decorative painting stencils offer a fantastic way to add intricate details and consistent patterns to your folk art projects without requiring advanced freehand skills. Whether you’re a beginner looking to add polished elements or an experienced artist seeking to speed up intricate design work, mastering the use of decorative painting stencils can elevate your creations. This guide will walk you through the essentials of selecting, preparing, and applying stencils for beautiful results every time, helping you build skills and confidence in your artistic journey.
Choosing and Preparing Your Decorative Painting Stencils
Before you start painting, selecting the right stencil is crucial. Stencils come in various materials, from flexible plastic to adhesive-backed vinyl. For reusable folk art patterns, durable plastic stencils are often preferred. Consider the size and scale of your project; a large design needs a large stencil, while smaller accent pieces can benefit from delicate patterns. Moreover, the type of design you choose can significantly impact the final look of your piece. For example, a floral motif might be perfect for a country-style painting, whereas geometric shapes could suit a more modern folk art approach.
Once you have your stencil, preparation is key. Ensure your surface is clean, dry, and free of dust. This initial step prevents imperfections in your finished design. If using a non-adhesive stencil, use low-tack painter’s tape or a temporary spray adhesive to secure it firmly to your surface. This measure is vital because it prevents shifting and paint bleed, which are common culprits for fuzzy lines. Always test your adhesive on an inconspicuous area first to ensure it won’t damage your painted surface or leave residue. This simple test saves you potential frustration later on.
Application Techniques for Crisp Lines with Painting Stencils
The secret to achieving crisp, clean lines with decorative painting stencils lies in your application technique and the amount of paint you use. Less is definitely more when stenciling. Load your stencil brush or sponge sparingly with acrylic paint, dabbing off excess onto a paper towel. This crucial step prevents paint from seeping under the stencil edges, ensuring a sharp image. Hold your brush or sponge perpendicular to the surface and apply paint with a gentle dabbing or swirling motion, working from the outside edge of the design inwards. This method provides even coverage.
For multi-color stencils, allow each color to dry slightly before applying the next to prevent muddling. Patience here yields much better results. Once you’ve covered the entire design, carefully peel off the stencil while the paint is still slightly damp. If you wait until it’s completely dry, you risk peeling off small bits of paint with the stencil, ruining your hard work. Immediately clean your stencils after use with warm soapy water to ensure they are ready for your next project. This care extends the life of your tools.
Exploring Different Types of Decorative Painting Stencils
Beyond basic plastic, there’s a wide world of stencil types available for decorative painting. For instance, some artists prefer adhesive vinyl stencils for very detailed work, as they offer a secure hold and minimize bleed. Others might explore laser-cut wood stencils for a unique texture or dimension, especially when working with texture pastes rather than just paint. Furthermore, consider the thickness of the stencil material; thicker stencils can create a slightly raised design, adding another layer of interest to your folk art pieces. Understanding these variations allows you to choose the best tool for each specific project.
Additionally, some stencils are designed for specific mediums, such as fabric paint or glass etching cream. While our focus is primarily on acrylics for folk art, knowing these options broadens your creative horizons. For example, if you decide to upcycle everyday objects with decorative paint, a robust stencil designed for uneven surfaces might be beneficial. You can learn more about transforming objects with paint in our guide on Upcycling Everyday Objects with Decorative Paint. Selecting the right stencil material for your chosen medium is a key factor in achieving professional outcomes.
Advanced Tips for Using Decorative Painting Stencils
For those looking to take their stencil work to the next level, there are several advanced techniques to explore. Firstly, try layering different stencil designs to create complex, multi-dimensional patterns. This method adds depth and visual interest that a single stencil might not achieve. Secondly, experiment with shading and highlighting within your stencil design. By applying slightly lighter or darker shades of paint to specific areas, you can create the illusion of volume and texture, making your stenciled elements appear less flat. This technique requires a delicate touch and a keen eye for color variation.
Another advanced tip involves using a dry brush technique with your decorative painting stencils. Instead of a fully loaded brush, use a nearly dry brush to apply very thin layers of paint. This approach is excellent for creating a distressed or faded look, which can be particularly charming in folk art. Moreover, don’t limit yourself to just brushes and sponges; try using a small foam roller for larger stencil areas to ensure even coverage quickly. Remember, practice is essential for mastering these techniques, so don’t be afraid to experiment on scrap surfaces first.
Maintenance and Care for Your Painting Stencils
Proper care and maintenance significantly extend the life of your decorative painting stencils. As mentioned, cleaning them immediately after use is crucial. Dried paint is much harder to remove and can damage the delicate cuts of the stencil. Use warm, soapy water and a soft brush to gently scrub away any paint residue. For stubborn acrylic paint, a mild solvent like rubbing alcohol can be used sparingly, but always test it on an inconspicuous part of the stencil first to ensure it doesn’t degrade the material.
Once cleaned, lay your stencils flat to dry or hang them to prevent warping. Storing them flat, perhaps in a binder with clear plastic sleeves or in a dedicated stencil organizer, keeps them protected and easy to find. This organized storage also prevents them from bending or tearing. Furthermore, avoid exposing your stencils to extreme heat or direct sunlight for prolonged periods, as this can cause the plastic to become brittle or warp. By following these simple care instructions, your decorative painting stencils will remain in excellent condition, ready for countless future projects.
Consider investing in a dedicated cleaning solution for stencils if you frequently use them with various types of paint. Some art supply stores offer specialized cleaners that are gentle on stencil materials yet effective at removing tough paint. Proper care ensures that your investment in quality stencils pays off over time. For more information on various art terms and materials, you might find our Glossary of Terms helpful.
Integrating Stenciled Elements into Larger Folk Art Compositions
While decorative painting stencils are fantastic for standalone patterns, their true potential often shines when integrated into larger folk art compositions. For instance, a stenciled border can frame a hand-painted central motif beautifully, adding a professional and cohesive look. Similarly, a small stenciled detail, such as a star or a heart, can be repeated across a piece to create visual rhythm and unity. When combining stenciled elements with freehand painting, ensure that the styles complement each other. The stenciled parts should enhance, not detract from, the overall artistic vision.
Think about scale and proportion when placing your stenciled designs. A large, bold stencil might dominate a small piece, whereas a delicate pattern could get lost on a grander canvas. Experiment with placement before committing to paint. You can do this by holding the stencil in different positions or even making a light pencil tracing to visualize the effect. This planning stage is critical for harmonious integration. Additionally, using a consistent color palette between your stenciled and freehand areas helps tie the entire composition together. For inspiration on creating depth, consider our article on Mastering Glazing Techniques: Achieve Luminous Depth in Decorative Art.
Creative Applications Beyond Traditional Stenciling
Decorative painting stencils aren’t just for applying flat colors. Artists can explore numerous creative applications to add unique textures and effects. For example, try using modeling paste or texture gel through a stencil to create raised designs. Once dry, these textured areas can be painted, glazed, or antiqued for a truly dimensional effect. This technique adds tactile interest and a sculptural quality to your folk art pieces. Furthermore, consider using stencils with metallic paints or glitter mediums for a touch of sparkle and glamour, perfect for festive or whimsical designs.
Another innovative use involves creating reverse stenciling or masking. Instead of painting inside the stencil, you paint around it, leaving the stencil’s shape unpainted on your surface. This creates a silhouette effect that can be strikingly dramatic. Additionally, stencils can be used with spray paints for a softer, airbrushed look, although this requires careful masking of the surrounding area to prevent overspray. Always ensure good ventilation when using spray products. The versatility of these tools means your creative possibilities are virtually endless.
Where to Find Quality Decorative Painting Stencils
Finding the right decorative painting stencils is essential for quality results. Many craft stores, both online and brick-and-mortar, offer a wide selection of stencils. Look for reputable brands known for durable materials and clean-cut designs. Specialty art supply stores often carry a more extensive range of unique and intricate patterns, catering to specific artistic needs. Online marketplaces are also excellent resources, providing access to independent artists and a vast array of designs that might not be available locally. When purchasing online, always check reviews for stencil quality and customer satisfaction.
Consider the material of the stencil when making your purchase. Mylar stencils, for example, are known for their durability and flexibility, making them ideal for repeated use and for conforming to slightly curved surfaces. Furthermore, some companies offer custom stencil services, allowing you to create unique designs tailored specifically to your projects. This option is perfect for artists who have a very specific vision or need a personalized touch. Always support businesses that prioritize quality and customer service. For more information on how we support businesses, see our Amazon Affiliate Disclaimer.
Adding decorative painting stencils to your folk art toolkit opens up a world of possibilities for creating unique and professional-looking pieces. With a little practice and attention to detail, you’ll be able to incorporate stunning patterns and motifs into all your creative endeavors, enhancing their visual appeal and giving them a polished finish. Experiment with different stencil designs and paint colors to discover your favorite combinations and truly make each piece your own. Your artistic journey will undoubtedly be enriched by mastering these versatile tools. We encourage you to share your creations with us!
Explore resources like Stencil Ease for a wide range of stencil options and techniques, or visit DecoArt for inspiration on paints and decorative art projects. These sites provide excellent supplementary information and product choices.
FAQ Section
How do I prevent paint from bleeding under my stencils?
To prevent paint bleed, use minimal paint on your brush or sponge, dabbing off excess. Secure your stencil firmly to the surface using low-tack tape or temporary spray adhesive. Apply paint with a gentle dabbing motion, working inwards from the edges of the design.
What types of paint are best for stenciling projects?
Acrylic paints are generally the best choice for stenciling on most surfaces due to their quick drying time and versatility. Fabric paints are suitable for textiles, while spray paints can be used for a softer effect, provided adequate ventilation and masking are used.
Can I reuse my painting templates?
Absolutely! Most plastic or Mylar stencils are designed for reuse. The key is to clean them immediately after each use with warm, soapy water to remove all paint residue. Store them flat and protected to prevent warping or damage, ensuring they are ready for your next project.
How do I choose the right stencil design for my folk art project?
Consider the overall theme and scale of your project. For folk art, traditional motifs like florals, leaves, or geometric patterns work well. Choose a size that complements your piece, and don’t be afraid to experiment with layering different patterns for added complexity and visual interest.
What are some creative ways to use design templates beyond basic painting?
Beyond traditional painting, you can use these templates with modeling paste for raised textures, metallic paints for shimmer, or even for reverse stenciling. They can also be integrated into larger compositions, framing hand-painted elements or creating subtle background patterns to enhance your artwork.