
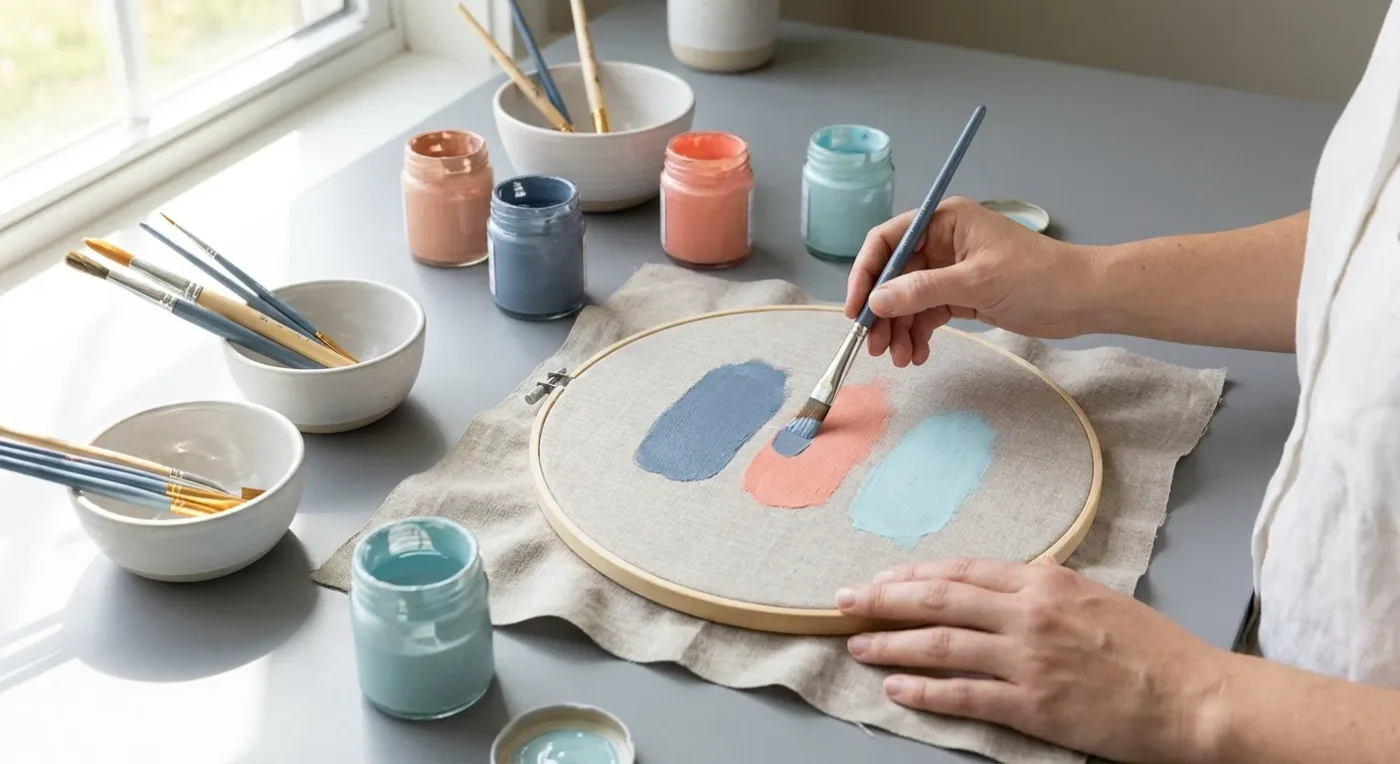

Decorative painting doesn’t have to be limited to wood or canvas. Expanding your artistic horizons to include painting on fabric opens up a world of wearable art, unique home decor, and personalized gifts. Transforming textiles into vibrant, custom pieces is a rewarding process that allows your folk art designs to adorn everything from clothing to cushion covers. If you’ve always wanted to try painting on fabric, this guide will provide you with the essential steps and ideas to get started.
Essential Supplies for Painting on Fabric
To successfully embark on your journey of painting on fabric, you’ll need a few specialized supplies. First and foremost, you’ll need fabric paints or acrylic paints mixed with a fabric medium. Fabric paints are specifically formulated to be flexible, washable, and resistant to cracking on textiles. If you choose to use regular acrylics, a fabric medium is crucial; it ensures they adhere properly and remain soft after drying. You will also need a fabric item to paint on, such as a cotton tote bag, a plain t-shirt, denim, or canvas shoes. For the best results, always choose natural fibers like cotton, linen, or silk, as they absorb paint effectively. Other useful tools include various brushes suitable for your desired detail, masking tape for crisp lines, cardboard or wax paper to place inside garments (to prevent bleed-through), and an iron for heat-setting your designs. Indeed, having the right tools makes all the difference.
Preparing Your Fabric for Artistic Expression
Preparation is key when undertaking any fabric art project. Always pre-wash your fabric item without fabric softener to remove any sizing that could prevent paint adhesion. Once dry, iron it smooth to eliminate wrinkles. Next, place a piece of cardboard or wax paper inside garments or under single layers of fabric. This creates a flat, stable surface and effectively prevents paint from bleeding to the other side. Transfer your folk art design using tailor’s chalk, a disappearing ink pen, or a light pencil sketch. This initial step sets the foundation for a successful creation. Furthermore, consider the type of fabric; denim, for example, might require a slightly different approach than a delicate silk scarf. Understanding fabric characteristics is part of the preparation.
Techniques and Project Ideas for Painting on Fabric
When applying paint, work in thin, even layers. Multiple thin coats are always better than one thick coat, as this allows the fabric to remain flexible and prevents cracking. Once your design is complete and thoroughly dry (usually 24-72 hours, depending on paint thickness and humidity), it’s crucial to heat-set it according to the paint manufacturer’s instructions. This typically involves ironing the painted area on a medium-high setting for a few minutes, protecting it with a pressing cloth. Heat-setting ensures the paint is permanent and washable. Project ideas for painting on fabric are truly endless: personalize tote bags, t-shirts, canvas shoes, pillow covers, placemats, or even fabric wall hangings. Start with simple motifs and gradually move to more complex folk art designs. Consequently, your confidence will grow with each completed piece.
Choosing the Best Paints and Mediums for Fabric Art
The success of your fabric painting project largely depends on the paints and mediums you select. Dedicated fabric paints are formulated with a binder that remains flexible after drying, making them ideal for textiles that will be worn or washed. They come in various finishes, including opaque, transparent, metallic, and glitter. Acrylic paints, while versatile, require a fabric medium when used on textiles. This medium, when mixed with acrylics, enhances their flexibility and adhesion, preventing cracking and ensuring washability. Different brands offer different fabric mediums, so it’s wise to experiment to find what works best for your specific project. For example, some mediums are designed for light fabrics, while others are better suited for dark ones. Always read the product instructions carefully to achieve optimal results. Moreover, consider eco-friendly options if sustainability is important to you. Many manufacturers now offer non-toxic, water-based fabric paints.
Mastering Design Transfer and Application
Accurately transferring your design is a critical step in fabric decoration. For intricate folk art patterns, a light box or tracing paper can be invaluable. Alternatively, you can use tailor’s chalk or a disappearing ink pen for direct sketching. Some artists prefer to freehand their designs, which offers a more spontaneous feel. When applying paint, use a variety of brushes to achieve different effects. Fine-tipped brushes are excellent for detailed lines and small areas, while larger flat brushes are perfect for filling in broader sections. Stippling brushes can create interesting textures, and sponges offer a unique, diffused look. Remember to keep your brush strokes consistent and apply paint evenly. If you’re aiming for crisp lines, masking tape can be a great ally, creating sharp edges for geometric patterns. However, remove the tape before the paint fully dries to prevent peeling. Building up colors in layers is also a common technique, allowing for depth and dimension in your fabric artwork.
Heat-Setting and Care for Your Painted Fabric Creations
Heat-setting is not an optional step; it is essential for making your fabric painting permanent and washable. Most fabric paints and mediums require heat to cure properly. The most common method involves ironing the dry painted area. Place a pressing cloth or a piece of parchment paper over your design to protect it and your iron. Set your iron to the temperature recommended for the fabric type (e.g., cotton setting for cotton items) and press for several minutes, moving the iron constantly. Some paints might suggest tumble drying or baking as an alternative heat-setting method. Always refer to the specific manufacturer’s instructions for the best results. After heat-setting, wait at least 72 hours before the first wash. When washing, turn the item inside out, use a gentle cycle with cold water, and air dry or tumble dry on low. Avoiding harsh detergents and excessive scrubbing will help preserve your beautiful artwork. Proper care ensures the longevity of your painted garments and home decor items. This attention to detail is part of the enduring appeal of decorative arts, as discussed in our article on mastering glazing techniques.
Expanding Your Horizons: Advanced Fabric Painting Techniques
Once you’ve mastered the basics of painting on fabric, you might be ready to explore more advanced techniques. Stenciling is a popular method for creating repeatable patterns or crisp images. You can purchase stencils or create your own using freezer paper or stencil film. Another exciting technique is resist painting, where a resist medium (like gutta or wax) is applied to the fabric to block areas from absorbing dye or paint, creating intricate lines and patterns, especially popular with silk painting. Fabric dyeing, while distinct from direct painting, can also be combined with painting for multi-layered effects. Consider using fabric markers for fine details or outlining, as they offer precise control. Furthermore, experimenting with different fabric textures can yield surprising results. Painting on velvet, for instance, offers a luxurious feel, while burlap provides a rustic charm. Don’t be afraid to mix and match techniques; for example, you could stencil a base pattern and then hand-paint details on top. The possibilities for creative expression are truly limitless when it comes to decorating textiles. For more creative transformations, you might enjoy our guide on upcycling everyday objects with decorative paint.
Inspiration for Your Next Fabric Painting Project
Finding inspiration is often the first step in any artistic endeavor. Look to nature for folk art motifs: flowers, leaves, birds, and animals make wonderful subjects for fabric decoration. Traditional folk art designs from various cultures also offer a rich source of ideas. Consider personalizing gifts for friends and family; a hand-painted tote bag or a custom t-shirt makes a thoughtful present. For home decor, think about refreshing old cushion covers, creating unique placemats, or even designing your own fabric wall hangings. Children’s clothing and accessories can also be transformed with playful designs. The key is to start with something that excites you and gradually build your skills. There are numerous online communities and resources dedicated to fabric painting, offering tutorials and galleries of inspiring work. Don’t forget to visit your local craft store for ideas on new products and tools. Engaging with other artists can also spark new ideas and provide valuable feedback. For further inspiration and to connect with our community, you can always check out our Blog.
Troubleshooting Common Fabric Painting Challenges
Even experienced artists encounter challenges when painting on fabric. One common issue is paint bleeding. This often happens if the fabric is not properly pre-washed or if too much paint is applied at once. Using a fabric medium with acrylics also helps prevent this. Another challenge is paint cracking or peeling after washing. This usually indicates insufficient heat-setting or using too much paint in a single layer. Always ensure your paint is thoroughly dry before heat-setting and follow the manufacturer’s instructions precisely. Sometimes, colors might not appear as vibrant on dark fabrics. In such cases, applying a thin layer of white fabric paint as a base coat can help bright colors stand out. If you’re struggling with achieving smooth lines, practice on scrap fabric or use masking tape. Remember that patience is a virtue in fabric art. If a project doesn’t turn out perfectly the first time, learn from it and try again. Every artist, regardless of skill level, faces hurdles. The important thing is to keep experimenting and refining your techniques. For any specific questions, feel free to contact us.
The Joy of Creating Wearable Art and Unique Decor
Discovering the joy of painting on fabric adds another exciting dimension to your decorative art skills. With the right materials, preparation, and techniques, you can transform everyday textiles into unique, personalized works of art. This creative outlet allows you to express your individual style and bring your folk art visions to life in new and practical ways. Imagine wearing your own hand-painted t-shirt or adorning your home with custom-designed cushions. The satisfaction of creating something truly one-of-a-kind is immense. Embrace the flexibility and creative potential of fabric painting and watch your folk art flourish in new, unexpected ways. This medium offers a tactile and engaging experience, quite different from working on traditional canvases. Moreover, it’s a fantastic way to give old items a new lease on life, promoting sustainability through artistic expression. The world of textile art is vast and welcoming, offering endless opportunities for both beginners and seasoned artists alike. For more detailed information on various artistic terms, consult our Glossary of Terms.
Conclusion: Unleash Your Creativity with Fabric Painting
In conclusion, painting on fabric is a wonderfully rewarding artistic endeavor that extends the reach of decorative arts beyond traditional surfaces. From selecting the right paints and preparing your textiles to mastering application techniques and ensuring proper care, each step contributes to the creation of durable, beautiful, and unique pieces. Whether you’re customizing a simple tote bag or embarking on an intricate apparel project, the principles remain consistent: good preparation, thoughtful execution, and careful heat-setting. We encourage you to experiment with different fabrics, colors, and designs, allowing your personal folk art style to shine through. The journey of transforming plain textiles into vibrant works of art is not only a skill-building exercise but also a profound expression of creativity. So gather your supplies, find your inspiration, and begin your exciting adventure in the world of painting on fabric. Your wardrobe and home decor will thank you for it!
FAQ
What type of paint is best for decorating textiles?
For decorating textiles, specialized fabric paints are generally the best choice. They are designed to be flexible, washable, and resistant to cracking. Alternatively, you can mix regular acrylic paints with a fabric medium to achieve similar results, ensuring the paint adheres well and remains soft.
Do I need to pre-wash fabric before applying paint?
Yes, it is highly recommended to pre-wash your fabric item before applying paint. This removes any sizing or finishes that could prevent the paint from adhering properly to the fibers. Always wash without fabric softener for optimal results.
How do I prevent paint from bleeding through the fabric?
To prevent paint from bleeding through, place a piece of cardboard, wax paper, or a plastic sheet inside garments or underneath single layers of fabric. This creates a barrier and a stable, flat surface for painting.
Is heat-setting essential for painted fabrics?
Yes, heat-setting is crucial for making your painted fabric designs permanent and washable. It cures the paint, ensuring it won’t wash out or crack easily. Always follow the paint manufacturer’s specific instructions for heat-setting.
What are some easy projects for beginners in textile decorating?
Beginners can start with simple projects like personalizing cotton tote bags, plain t-shirts, canvas shoes, or pillow covers. Choose simple folk art motifs or stencil designs to build confidence before moving on to more complex patterns.
How do I care for items after painting on them?
After heat-setting, wait at least 72 hours before the first wash. Turn the item inside out, wash in cold water on a gentle cycle, and either air dry or tumble dry on low. Avoid harsh detergents and excessive scrubbing to preserve the artwork.