
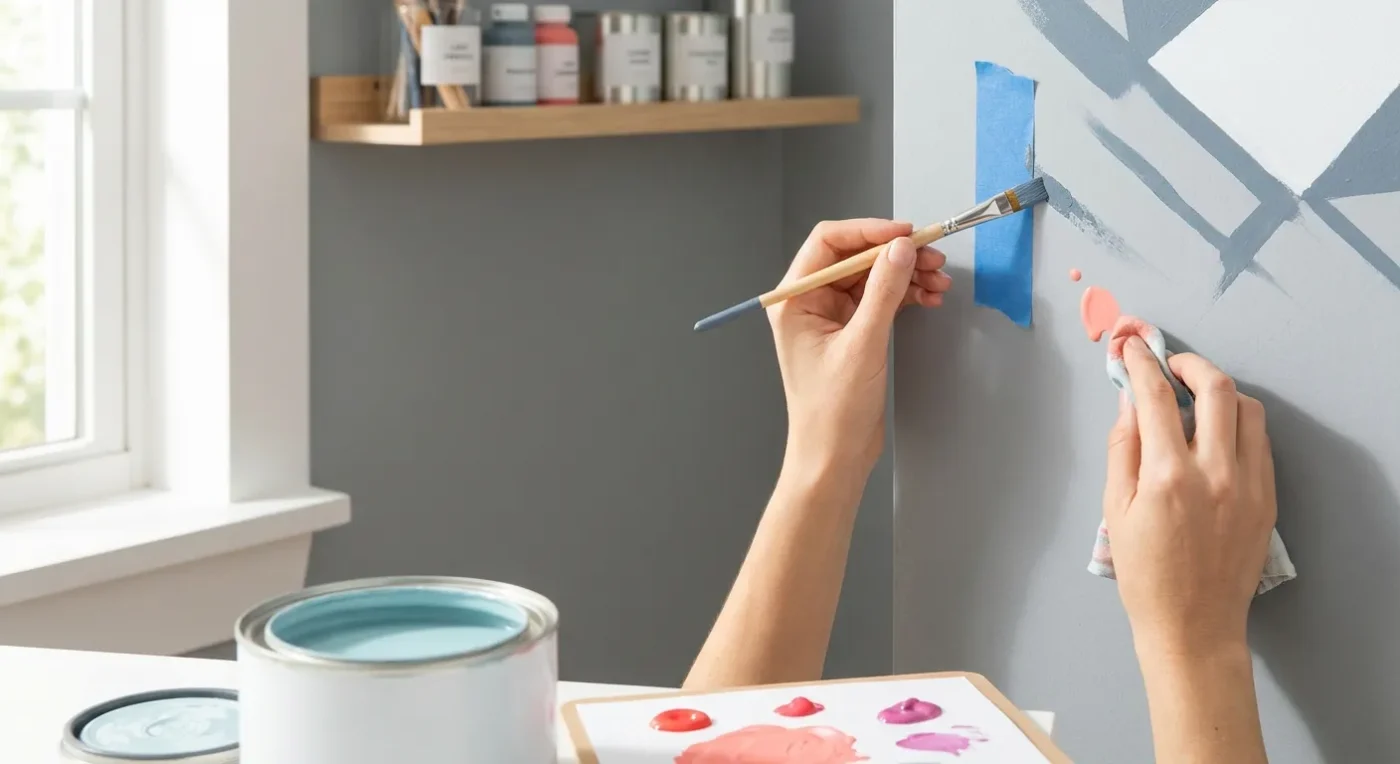

Even the most seasoned decorative painters encounter hiccups during a project. A stray brushstroke, an uneven coat, or a smudged detail can feel disheartening. However, most common errors are entirely fixable. Knowing how to fix painting mistakes can save your project from the bin and turn a moment of frustration into a valuable learning opportunity. This comprehensive guide will walk you through typical folk art blunders and provide actionable solutions to get your project back on track. We will explore various issues, from uneven coats to color mishaps, ensuring you gain the confidence to tackle any challenge.
Understanding the Roots of Common Decorative Painting Blunders
Before diving into solutions, it’s helpful to understand why certain errors occur. Often, issues stem from a few core areas: paint consistency, surface preparation, and brush technique. For instance, paint that is too thick or too thin can lead to streaking or poor coverage. Similarly, a surface that hasn’t been properly cleaned or primed might cause paint to chip or peel. Moreover, rushing the process or using an incorrect brush can result in smudges and uneven lines. Recognizing these underlying causes empowers you to prevent future problems while learning to correct existing ones.
Developing a keen eye for these details significantly improves your overall painting experience. As you gain experience, you’ll intuitively adjust your approach. For example, you might notice that a particular brand of paint requires a slightly different thinning ratio. Therefore, consistent practice and attention to detail are paramount for mastering decorative painting. This proactive mindset is key to minimizing errors and maximizing your creative flow.
Troubleshooting Uneven Coats and Blurry Lines
One frequent issue is an uneven paint application, leading to streaks or patchy coverage. This often happens if the paint is too thin, the brush is overloaded, or the surface wasn’t properly primed. To fix this, ensure your paint consistency is right – like thin cream – and apply thin, even layers. Allow each layer to dry completely before adding the next. If you notice an uneven coat after drying, lightly sand the area with fine-grit sandpaper (if appropriate for the surface) and reapply a thin layer. This careful approach ensures a smooth finish.
Another common frustration is blurry or bleeding lines, especially when working with stencils or delicate outlines. This usually means the paint was too wet or seeped under the stencil or tape. To fix painting mistakes involving blurry lines, gently scrape away the excess paint with a craft knife once dry. Alternatively, carefully paint over the blurred edge with your background color using a fine-tipped brush. For stenciling, ensure your stencil is firmly adhered and use a minimal amount of paint, dabbing rather than brushing. This technique prevents seepage and maintains crisp edges.
Consider also the type of surface you are working on. Porous surfaces, for example, might absorb paint unevenly, contributing to patchy results. In such cases, a good primer is essential. Furthermore, humidity can affect drying times, influencing how smoothly your paint applies. Adjusting your environment or allowing extra drying time can prevent many common issues. Ultimately, understanding these variables helps you achieve professional-looking results.
Addressing Streaks and Brush Marks
Streaks and visible brush marks can detract from the beauty of a decorative piece. These often occur when paint dries too quickly or when too much pressure is applied to the brush. To minimize streaks, try using a paint extender or a flow improver, which increases the open time of your paint. This allows more time for the paint to self-level before drying. Moreover, choose the right brush for the task; softer brushes tend to leave fewer marks. Apply paint with light, even strokes, working in one direction where possible. If streaks are already present, allow the paint to fully cure. Then, lightly sand the area with very fine sandpaper and reapply a thin, smooth layer. This method helps to achieve a flawless surface.
Dealing with Smudges, Cracks, and Color Blunders
Accidental smudges are almost inevitable, especially on wet paint. If a smudge occurs on wet paint, gently dab it with a clean, damp cloth immediately to lift the excess. If the smudge has dried, you might need to carefully scrape or sand the area and repaint. Patience is key here to avoid further damage. Sometimes, a very fine-tipped brush can be used to carefully blend the smudged area back into the surrounding paint, especially if it’s a small detail. This careful restoration can save hours of work.
Cracking paint can be a sign of applying paint too thickly or trying to paint over an incompatible surface. For instance, applying a rigid paint over a flexible primer can cause cracking. If cracking occurs, you’ll likely need to scrape off the affected area, re-prime, and repaint with thinner layers. Always ensure each layer is dry before applying the next to prevent future cracking. Additionally, checking the compatibility of your paints and primers is crucial. A quick read of product labels can prevent many headaches down the line.
Lastly, color mistakes, where a hue just doesn’t look right, are common. Perhaps the color is too bright, too dull, or simply clashes with other elements. The best approach here is often to let the paint dry completely and then paint over it with the correct color. If you’re blending, try to blend new layers seamlessly. Remember, decorative painting is about layers, and most errors can be covered or corrected with patience and the right technique. Don’t be afraid to experiment with color swatches before committing to your main piece. For more on achieving depth, consider exploring Mastering Glazing Techniques: Achieve Luminous Depth in Decorative Art.
Correcting Paint Peeling or Chipping
Paint peeling or chipping can be incredibly frustrating. This issue often arises from poor surface preparation, such as painting over a dirty, greasy, or improperly primed surface. Moisture trapped under the paint can also cause peeling. To correct this, first, gently scrape away all loose or peeling paint. Clean the area thoroughly, ensuring it’s free of dust and debris. If the surface is smooth, lightly sand it to create some ‘tooth’ for the new paint to adhere to. Apply a high-quality primer suitable for your surface, then repaint with thin, even coats. Ensuring proper adhesion from the start is vital for a durable finish. This meticulous process helps to reinforce the paint’s bond to the surface.
Minimizing Bubbles and Texture Issues
Bubbles in paint can mar an otherwise smooth finish. These often form when paint is shaken vigorously, introducing air, or when painting in humid conditions. To avoid bubbles, stir your paint gently instead of shaking it. When painting, avoid overworking the paint on the surface, as this can also trap air. If bubbles appear while the paint is still wet, gently pass a dry brush over them to release the air. For dried bubbles, you may need to carefully sand them down and repaint. Similarly, unwanted texture can result from using too much paint or an incorrect brush. Using thin layers and the right tools will help you achieve a smooth, professional look.
Temperature also plays a role in how paint behaves. Painting in very hot or cold conditions can affect drying times and paint flow, potentially leading to texture issues. Ideally, paint in a well-ventilated area with moderate temperature and humidity. Furthermore, ensure your brushes are clean and free of dried paint, as old paint can transfer unwanted texture to your new work. Taking these preventative steps can significantly reduce the occurrence of texture problems, allowing you to focus on the artistic aspects of your project.
Recovering from Design and Detail Disasters
Sometimes, the overall design just doesn’t come together as planned, or a small detail goes awry. Perhaps a design element looks out of place, or a fine line is crooked. For minor detail mishaps, a fine-tipped brush and a steady hand can be your best friends. Carefully paint over the error with the background color, then reapply the detail once the base is dry. This precision work requires patience but yields excellent results. When it comes to larger design issues, don’t be afraid to step back and re-evaluate. Sometimes, a fresh perspective reveals a simple solution, such as adding a new element to balance the composition.
If a significant portion of your design needs to be changed, consider painting over the entire area with a neutral base color and starting fresh. This might seem daunting, but it’s often more effective than trying to salvage a design that isn’t working. Remember, every project is a learning experience, and sometimes, a complete overhaul is the best way to achieve your vision. For more inspiration on transforming objects, explore From Drab to Fab: Upcycling Everyday Objects with Decorative Paint.
Addressing Accidental Drips and Spills
Drips and spills are common occurrences, especially when working quickly or with loaded brushes. If a drip occurs on wet paint, immediately wick it away with the corner of a clean, dry paper towel or a fine brush. Avoid wiping, as this can spread the paint. If the drip has dried, you’ll need to carefully remove it. For smooth surfaces, a craft knife can gently scrape away the dried drip. For textured surfaces, light sanding might be necessary. After removal, touch up the area with thin layers of paint. Preventing drips often involves not overloading your brush and working with gravity, painting from top to bottom where possible. This proactive approach minimizes cleanup.
Essential Tools and Techniques for Corrections
Having the right tools on hand makes all the difference when you need to fix painting mistakes. A good set of fine-tipped brushes, a craft knife, fine-grit sandpaper, and clean cloths are invaluable. Additionally, keep a small amount of your background colors mixed and ready for touch-ups. When making corrections, always work slowly and deliberately. Apply paint in thin layers, allowing each to dry thoroughly. This prevents further errors and ensures a seamless repair. Sometimes, a magnifying glass can help with intricate details, allowing for greater precision.
Understanding different paint mediums and their properties is also crucial. For example, acrylics dry quickly, making immediate corrections essential. Oils, on the other hand, have a longer open time, allowing for more blending and adjustments. Knowing these characteristics will guide your repair strategy. Furthermore, consider keeping a practice board or scrap material nearby to test correction techniques before applying them to your main project. This practice minimizes risk and builds confidence.
The Power of Patience and Persistence
Don’t let minor setbacks deter your creative spirit. Knowing how to fix painting mistakes is an invaluable skill for any decorative artist. With these tips, you can approach your projects with greater confidence, knowing that most errors are just temporary detours on the path to a beautiful, finished piece. Embrace the learning process, and enjoy the satisfaction of restoring your artwork. Remember, every mistake is an opportunity to learn and refine your skills. You can even find more helpful terms in our Glossary of Terms.
Persistence is a key trait of successful artists. It’s easy to become discouraged when a project isn’t going as planned. However, by taking a break, re-evaluating the situation, and applying these correction techniques, you can often turn a perceived failure into a triumph. Ultimately, the joy of decorative painting comes not just from creating, but also from overcoming challenges. Continue to experiment, learn, and grow as an artist. You can even find more resources and inspiration on our Blog.
When to Start Over vs. When to Fix
Deciding whether to fix a mistake or start over entirely is a common dilemma. Generally, if the error is localized, small, and doesn’t compromise the overall integrity of the piece, it’s worth attempting a fix. For instance, a small smudge or a slightly uneven line can usually be corrected with precision. However, if the entire composition is off, the surface is severely damaged, or multiple pervasive errors would require extensive, complicated repairs, starting fresh might be the more efficient and less frustrating option. Sometimes, the time and effort to fix a painting mistake extensively can exceed the effort of beginning anew. This decision often comes down to the individual artist’s assessment of the situation and their comfort level with intricate repairs. Consider the emotional investment in the piece; sometimes, letting go and starting fresh provides a renewed sense of enthusiasm.
Consider also the materials involved. If you’re working with expensive or rare materials, you might be more inclined to attempt a fix, however challenging. Conversely, if materials are readily available and inexpensive, starting over might be a less stressful choice. Ultimately, there is no single right answer; it’s a balance between practicality, time, and artistic vision. Developing this discernment comes with experience, so don’t be afraid to make the call that feels right for your project. You can always contact us if you have specific questions about your project.
Preventative Measures for Future Success
While knowing how to fix painting mistakes is crucial, preventing them in the first place is even better. Good habits can significantly reduce the frequency of errors. Always prepare your surface properly by cleaning, sanding, and priming as needed. Ensure your paint is at the correct consistency – not too thick, not too thin. Use high-quality brushes and tools appropriate for your project. Work in a well-lit, clean environment to minimize dust and improve visibility. Take your time, allowing each layer of paint to dry thoroughly before proceeding. Planning your design and perhaps even sketching it out beforehand can also prevent compositional errors. By adopting these practices, you’ll find your projects flow more smoothly and result in fewer frustrations. Diligence in these foundational steps builds a strong basis for successful decorative painting.
Furthermore, regularly cleaning your brushes and tools extends their life and ensures they perform optimally. Dirty brushes can lead to streaky or uneven application. Storing your paints properly prevents them from drying out or becoming contaminated. Educating yourself on different painting techniques and materials will also empower you to make informed decisions and avoid common pitfalls. For example, understanding how different mediums interact can prevent cracking or peeling. Continuous learning and meticulous preparation are the cornerstones of successful decorative art. This commitment to best practices will serve you well in all your creative endeavors.
FAQ
How can I make sure my paint layers are even?
To ensure even paint layers, always apply thin coats. Use a consistent amount of paint on your brush and spread it smoothly across the surface. Allow each layer to dry completely before applying the next. This prevents streaks and ensures uniform coverage.
What should I do if my stencil lines bleed?
If your stencil lines bleed, it often means too much paint was used or the stencil wasn’t firmly adhered. Once dry, you can carefully scrape away the excess with a craft knife or use a fine-tipped brush to paint over the blurred edges with your background color.
How do I prevent paint from cracking?
Prevent paint from cracking by applying thin layers of paint and ensuring each layer dries thoroughly. Also, make sure your paint is compatible with your primer and surface. Avoid applying rigid paints over flexible bases.
Can I fix a color I don’t like after it’s dried?
Yes, you can fix a color you don’t like after it’s dried. The easiest way is to simply paint over it with the correct or desired color. Ensure the underlying paint is fully dry before applying new layers.
What are the best tools for making small corrections?
For small corrections, a fine-tipped brush, a craft knife, and fine-grit sandpaper are invaluable. Clean cloths and a small amount of your background colors for touch-ups are also essential. These tools allow for precise adjustments.
Is it better to fix a major error or start over?
Deciding whether to fix a major error or start over depends on the extent of the damage and your personal preference. If the error is extensive or compromises the entire design, starting fresh might be less frustrating and more efficient. For localized issues, a fix is usually possible.