
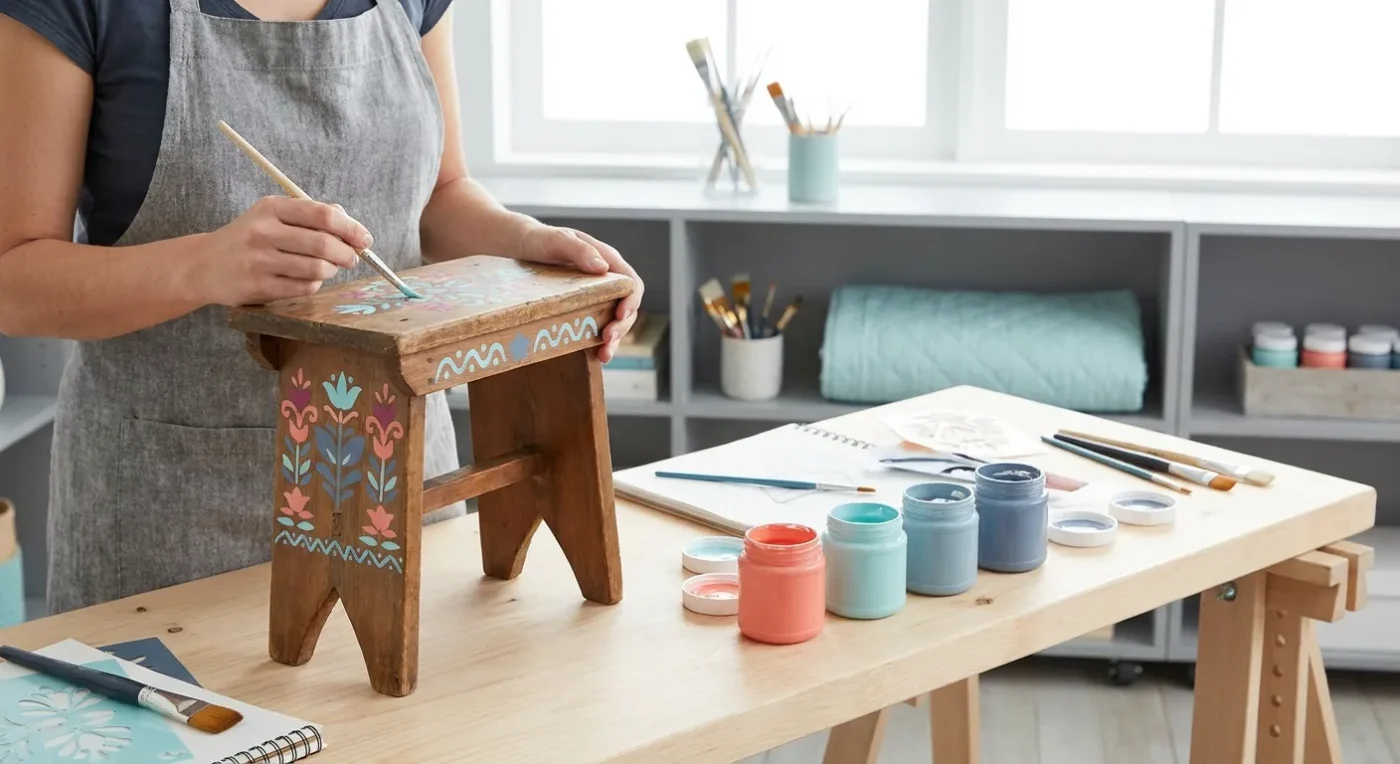

There’s a unique satisfaction in taking something old and giving it a fresh, artistic purpose. Folk art furniture painting is an incredibly rewarding way to breathe new life into tired pieces, infusing them with personality, history, and a touch of handmade charm. Whether it’s an antique dresser, a plain wooden chair, or a forgotten side table, decorative furniture painting allows you to create functional art that tells a story and brightens any room. This guide will walk you through the process, empowering you to transform your furniture with confidence and creativity.
Selecting Your Canvas: Ideal Furniture Pieces for Decorative Painting
The best candidates for a folk art transformation are often solid wood pieces with simple lines. Look for items that are sturdy but might have cosmetic imperfections like scratches, fading, or outdated finishes. Thrift stores, garage sales, and even your own attic are treasure troves for such finds. Consider the scale of the piece and its intended use. For example, a small stool might be a great starting point for a beginner, while a larger cabinet offers ample space for intricate designs and bolder statements. Remember, the goal is not perfection, but character.
Preparation is Key: Sanding and Priming for Lasting Results
Proper preparation ensures your paint adheres well and your finished project lasts. Start by thoroughly cleaning the furniture with a mild detergent and water; then allow it to dry completely. For previously finished pieces, a light sanding with medium-grit sandpaper (120-180 grit) will create a ‘tooth’ for the primer to grip. If the existing finish is chipping or peeling, you’ll need to sand more aggressively to remove loose paint. After sanding, wipe away all dust with a tack cloth or damp rag. Apply a high-quality primer suitable for furniture; this step is crucial for blocking stains, ensuring even color, and providing a durable base for your decorative painting.
Bringing Designs to Life: Popular Folk Art Motifs
Folk art embraces a wide range of motifs, often inspired by nature, everyday life, and cultural traditions. Common themes include:
- Flora and Fauna: Simple flowers, leaves, birds, and whimsical animals.
- Geometric Patterns: Stripes, dots, checks, and abstract shapes.
- Scenery: Rustic houses, trees, rolling hills, or simple landscapes.
- Symbolic Elements: Hearts, stars, suns, or moons.
Don’t feel pressured to create highly detailed images. The beauty of folk art often lies in its simplified, stylized forms. Browse traditional folk art from different cultures for inspiration, or simply sketch out designs that resonate with you. Stencils can also be a fantastic tool for achieving consistent patterns and building confidence. You can explore Adding Detail with Decorative Painting Stencils for more ideas.
Step-by-Step Guide to Decorative Furniture Painting
Once your primer is dry, you’re ready to paint! Here’s a general approach:
- Base Coat: Apply your chosen base color(s) using a good quality brush or roller. Allow each coat to dry thoroughly before applying the next. Often, two thin coats are better than one thick one.
- Sketch Your Design: Lightly sketch your folk art motifs onto the dry base coat using a pencil. You can use carbon paper to transfer more intricate designs.
- Paint the Details: Using smaller brushes, begin painting your chosen designs. Work from larger elements to smaller details. Consider using various brush sizes for different effects. For instance, a fine-tipped brush is excellent for delicate lines.
- Layering and Shading: Add depth to your designs by layering colors or introducing subtle shading. This technique can bring your folk art to life.
- Finishing Touches: Once your paint is completely dry, apply a protective topcoat. This could be a clear varnish, polycrylic, or wax, depending on the desired finish and durability needed for the piece.
Choosing the Right Paints and Brushes for Your Project
The type of paint you choose significantly impacts the look and durability of your folk art furniture painting project. Acrylic paints are a popular choice due to their versatility, quick drying time, and wide range of colors. They are water-soluble, making cleanup easy. For added durability, consider using artist-grade acrylics. Oil paints, conversely, offer a longer drying time, which can be beneficial for blending, but they require mineral spirits for cleanup. Chalk paint is another excellent option; it adheres well to most surfaces without extensive sanding and provides a matte, distressed finish often desired in folk art. Furthermore, the brushes you select are equally important. A good selection of round, flat, and liner brushes will allow you to execute various strokes and details. For more guidance, check out The Essential Brush Kit for Folk Art Home Decor Projects.
Inspiration from Historical and Cultural Folk Art Styles
Folk art is deeply rooted in cultural traditions and varies widely across regions. Exploring different styles can ignite your creativity and provide a rich source of inspiration for your furniture transformations. For instance, Pennsylvania Dutch folk art often features vibrant tulips, hearts, and distelfinks (stylized birds) on chests and cabinets. Scandinavian folk art, such as Rosemaling, is known for its flowing scrollwork and floral designs, typically seen on wooden objects. Mexican folk art, on the other hand, might showcase bold colors, intricate patterns, and animal motifs. By studying these diverse forms, you can develop a unique style for your decorative furniture painting. Consider visiting museums or browsing online archives dedicated to folk art to immerse yourself in its rich history. You can also gain insights from Drawing Inspiration from Historical Folk Art Patterns.
Adding Depth and Dimension: Advanced Techniques for Furniture Art
While simplicity is a hallmark of folk art, incorporating advanced techniques can elevate your furniture art and add sophisticated touches. For example, layering and glazing can create subtle shifts in color and add perceived depth to your designs. Dry brushing is another technique that allows you to create a textured, aged look, mimicking the appearance of worn paint. Stippling, using the tip of a brush to create small dots, can add texture and interest to areas. Furthermore, exploring different paint mediums can enhance the properties of your paint, allowing for unique effects. For instance, a flow improver can make paint more fluid for fine lines, while a retarder can extend drying time for blending. Learning these techniques can truly enhance your folk art furniture painting skills. For more advanced color work, consider Elevating Your Art: Advanced Folk Art Color Blending Techniques for Depth.
Protecting Your Masterpiece: Finishing and Sealing
After all your hard work, protecting your newly painted furniture piece is crucial to ensure its longevity. A durable topcoat will shield your folk art furniture painting from wear and tear, moisture, and UV damage. The choice of sealant depends on the type of paint used and the intended use of the furniture. For pieces that will see heavy use, such as dining tables or chairs, a water-based polycrylic or polyurethane offers excellent protection. These come in various finishes, from matte to high gloss. For a softer, more traditional look, especially over chalk paint, a clear furniture wax can be buffed to a beautiful sheen. Always apply topcoats in thin, even layers, allowing each layer to dry completely according to the manufacturer’s instructions. Proper sealing will preserve the beauty and vibrancy of your decorative furniture for years to come.
Common Challenges and How to Overcome Them in Folk Art Furniture Painting
Even experienced artists encounter challenges when undertaking a folk art furniture painting project. One common issue is paint bleeding under stencils, which can be frustrating. To prevent this, ensure your stencil is firmly adhered to the surface and apply paint in thin layers, dabbing rather than brushing towards the edges. Another challenge can be achieving smooth, even base coats; this often comes down to brush technique and proper paint consistency. If your paint is too thick, it can leave brush marks; if it’s too thin, it may not cover well. Experiment with a small amount of water to adjust consistency. Additionally, sometimes designs don’t turn out exactly as planned. Remember, folk art embraces imperfections, so don’t be afraid to embrace a slightly rustic charm. For more troubleshooting, you might find Common Decorative Painting Blunders and How to Fix Them helpful.
Where to Find Inspiration and Community for Your Projects
Finding inspiration is a continuous journey for any artist. For folk art furniture painting, look beyond traditional art books. Explore local history museums, antique shops, or even historical societies in your area, as they often display examples of regional folk art. Online platforms like Pinterest and Instagram are also rich sources of visual ideas. Moreover, joining a decorative painting community can provide invaluable support, feedback, and fresh perspectives. Connecting with fellow artists allows you to share techniques, discuss challenges, and celebrate successes. Many online forums and local groups exist, offering classes and workshops that can further develop your skills. Consider exploring communities that focus on specific folk art traditions, such as Rosemaling or Tole Painting, to deepen your knowledge. The camaraderie found in these groups can be incredibly motivating for your next furniture art endeavor. You can learn more about The Power of Connection: Benefits of Joining a Decorative Painting Community.
Taking Your Folk Art Skills to Other Surfaces
Once you’ve mastered the art of folk art furniture painting, you’ll discover that these techniques are highly transferable to a variety of other surfaces. For example, applying your decorative painting skills to smaller home decor items like wooden trays, picture frames, or even garden signs can be a delightful way to personalize your living space. Consider painting on eco-friendly materials to create sustainable and charming decor, as discussed in Folk Art Flourishes: Painting on Eco-Friendly Home Decor for a Sustainable Home. Fabric painting is another exciting avenue, allowing you to adorn cushions, tote bags, or even clothing with your unique folk art designs. The principles of surface preparation, design transfer, and protective finishes remain consistent, though specific materials and paints may vary. This versatility means your folk art journey can extend far beyond furniture, enriching every corner of your home with handmade beauty. For inspiration on fabric projects, see Beyond Canvas: Creative Ideas for Painting on Fabric. You can also explore painting on smaller items like Folk Art Coasters Tutorial: Crafting Charming Home Decor.
The Enduring Appeal of Hand-Painted Furniture
Hand-painted furniture offers a distinct charm that mass-produced items simply cannot replicate. Each stroke of the brush, every chosen motif, contributes to a piece’s unique story and character. When you engage in folk art furniture painting, you’re not just decorating; you’re participating in a rich tradition of craftsmanship and personal expression. These transformed pieces become focal points, sparking conversations and adding warmth to any interior. They carry the maker’s touch, a testament to patience, creativity, and the joy of creating something beautiful with your own hands. Moreover, giving old furniture a new lease on life through decorative painting is a sustainable practice, reducing waste and promoting resourcefulness. The enduring appeal lies in this blend of artistry, history, and personal connection, making each piece of hand-painted furniture a cherished treasure.
Conclusion: Your Journey into Folk Art Furniture Painting
Embarking on a folk art furniture painting project is more than just a craft; it’s an artistic journey that promises creativity, satisfaction, and unique results. From selecting the perfect piece to applying the final protective coat, each step offers an opportunity for personal expression. Remember that practice makes perfect, and every brushstroke contributes to your growing skill set. Don’t be afraid to experiment with colors, motifs, and techniques. The world of decorative furniture art is vast and welcoming. With this guide, you have the foundational knowledge to begin transforming your old treasures into cherished, hand-painted works of art. We encourage you to embrace the process and enjoy the beauty you create.
FAQ
What type of furniture is best for decorative painting?
Solid wood pieces with simple, clean lines are generally ideal. Look for sturdy items from thrift stores, garage sales, or even your own home that might have cosmetic flaws. Small tables, chairs, or dressers are excellent starting points.
Do I need to sand furniture before applying paint designs?
Yes, proper preparation is crucial. A light sanding with medium-grit sandpaper creates a ‘tooth’ for primer and paint to adhere to. If the existing finish is chipping, more aggressive sanding is needed. Always clean and prime after sanding.
What kind of paint should I use for painting furniture?
Acrylic paints are a popular choice for their versatility, quick drying time, and easy cleanup. Chalk paint is also excellent for its matte finish and good adhesion. Oil paints can be used but have longer drying times and require specific cleanup.
How can I find inspiration for folk art designs?
Explore historical folk art from different cultures, visit museums, or browse online platforms like Pinterest. Nature, everyday life, and cultural traditions are common sources. Don’t hesitate to sketch your own unique motifs.
How do I protect my hand-painted furniture?
After your paint is completely dry, apply a protective topcoat. Water-based polycrylic or polyurethane offers excellent durability for high-use pieces. For a softer finish, especially over chalk paint, furniture wax can be used. Always apply thin, even layers.